It is important to note that administration of GENIUS settings for HCP is required prior to setting up engagements. This should be completed by the MYP champion or someone of equal permissions. Instruction on how to administer HCP GENIUS settings can be found here: https://myphelp.mypcorp.com/art/enabling-hcp-in-genius-settings/
To create a new engagement:
- Select ‘Create new engagement’ in the ‘Manage HCP Clients’ panel

- If the client already exists in ARM, search for existing contacts.
- If the client does not exist in ARM, please create in ARM before administering HCP client engagement.
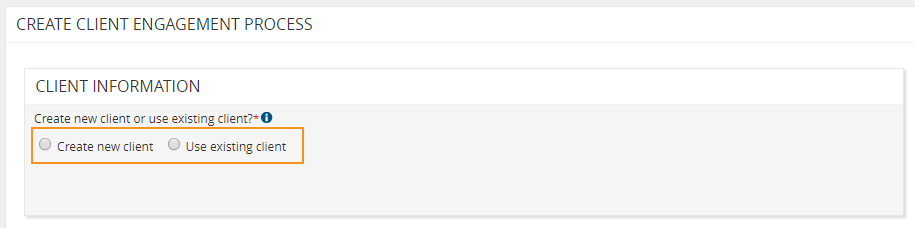
NB: To check if a client is already in the system, check the main search bar. If the name does not appear you are able to create a new client from within GENIUS, however as best practice we recommend avoiding this to optimize the level of custom information you can capture.
Review client information
Review the following information to ensure it is correct, as per ARM entries. If not please enter the relevant client information:
- NDIS number
- First name
- Last name
- Phone 1
- Phone 2
- Email
- Date of birth
- Address 1
- Address 2
- Suburb
- Town/city
- State
- Country
- Postcode
- Country
Enter representative information
Enter the relevant representative information:
- Does the client have a representative?
If yes:
- Create new contact or use existing contact
If using existing contact:

If the contact information is the same as the client’s, select the ‘Copy client’s contact information’ icon.
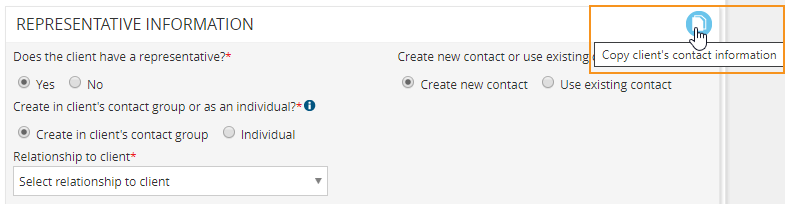
- Select relationship to client from drop-down menu

Enter and/or review the representative information.
- First name
- Last name
- Phone
- Email
- Address
- Suburb
- Town/city
- State
- Country
- Postcode
If the above address is the same for communication mark ‘Yes’. If ‘No’, enter the communication address.
Administer home care package co-ordination
This contains details about the support coordination for the client’s plan.
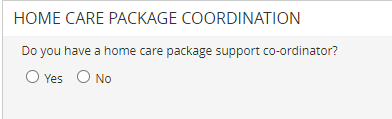
If the client has support co-ordination in their plan, select ‘Yes’.
Search for their support co-ordinator or select ‘Create client’ to create a new contact.

Administer plan style
- Select who is managing the plan
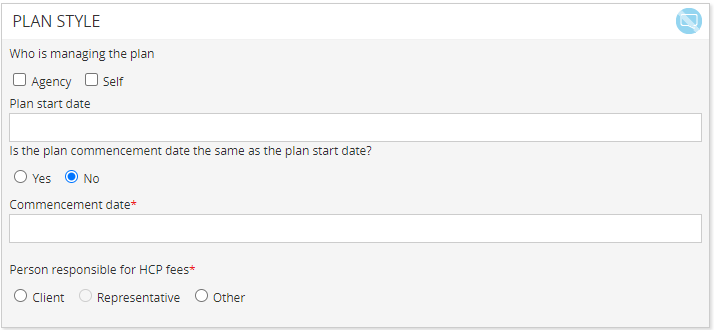
- Enter plan start date + end date
- Select if the plan commencement date is the same as the plan start date
- if ‘no’ enter the commencement date
- Select the person responsible for HCP fees
- Client
- Representative (if applicable)
- Other
NB: When selecting ‘Other’, choose an existing contact or create a new contact by selecting ‘Create contact’.

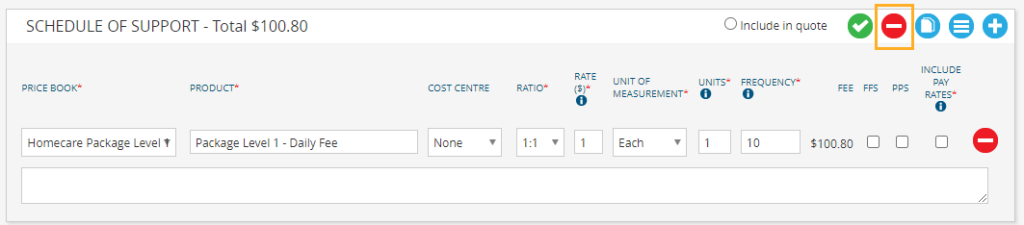
Administer schedule of support
To create a schedule of support:
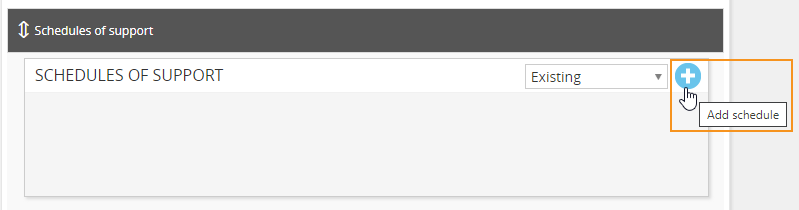
- Select ‘Add item’
- Select a price book
- Search for a home care line item
- Add description of support items in the text box (if applicable)
NB: Price books are managed in ARM. Please refer to ‘Customise products, prices + invoicing‘ for further details.
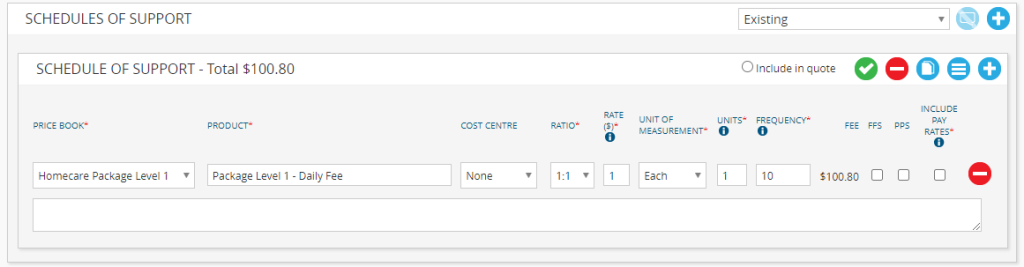
- Select the relevant support item
- Cost centre (if appropriate)
- Unit of measurement
- #units
- Frequency
- Select FFS (Fee For Service), if appropriate
- Select PPS (Pre-Paid Service), if appropriate
- The best process for service bookings to be marked as PPS, is to create them as stated items
NB: Enabling PPS for an item will mean that any invoice solely containing PPS items will automatically be moved to the ‘Paid’ status.
NB: The ratio field is used to communicate to a client which ratio their support will be delivered at. It does not recalculate any rates. Please ensure you are using the correct line item with the appropriate ratio pricing from the NDIS price book. Alternatively, you can manually update the pricing and rate in the schedule to reflect the ratio selected.
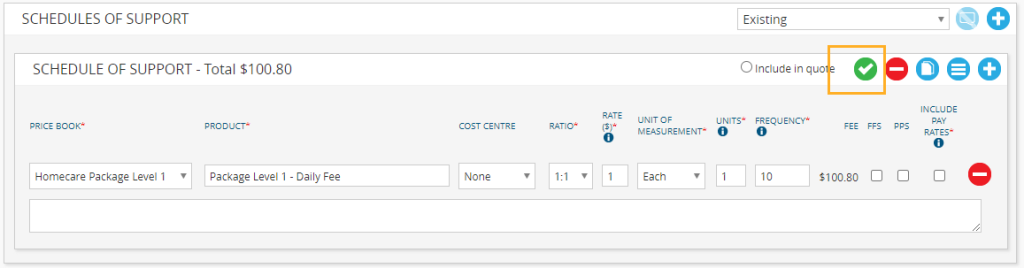
- Select ‘Mark as final’ to move from draft to final schedule
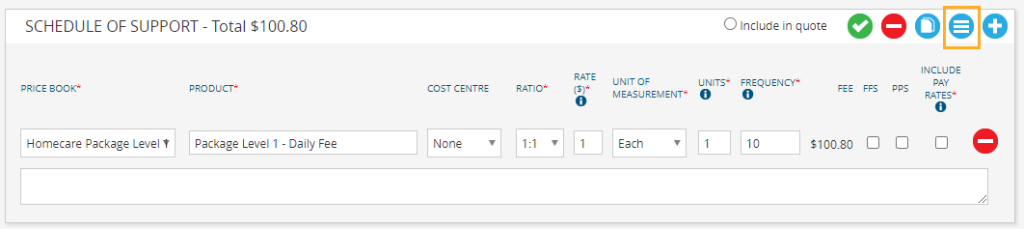
- To copy the schedule, select ‘Copy schedule’

- Create a schedule from a template by selecting ‘Create from template’. (This template comes from GENIUS > Settings > Schedule of support)
- To remove the schedule, select ‘Remove schedule’
- To archive the schedule, select ‘Archive schedule’

- Select ‘Archive’ or ‘Existing + archived’ from administration status drop-down menu

- Select ‘Unarchive’ if you wish to unarchive.

- Select ‘Save’ or ‘Save + close’
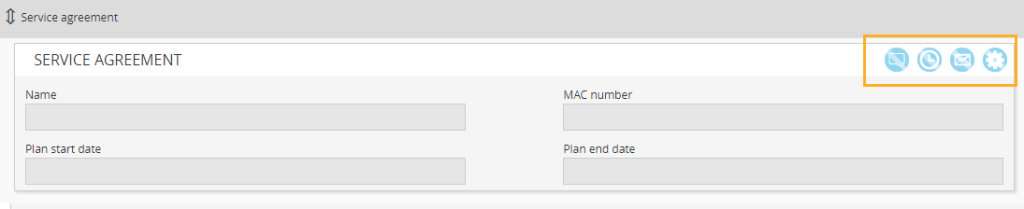
Administer service agreement
The following fields will be prefilled with data entered prior:
- Name
- MAC number
- Plan start date + end date
To generate and send your Service Agreement, there is multiple options available:
- Select ‘Generate agreement’ for downloadable copy
- Select ‘Email agreement’ for electronic copy quick sent directly from MYP
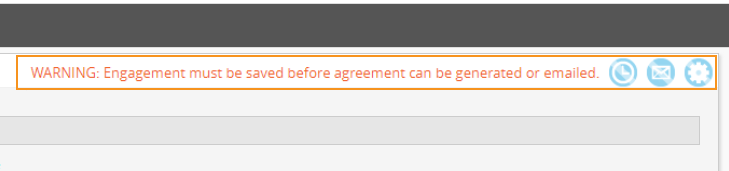
NB: If creating an engagement, ‘Save’ must be selected before agreement can be generated or emailed.
To generate downloadable agreement:
- Select ‘Generate agreement’
- Select the relevant agreement template from the drop-down menu
- Select ‘Save’
NB: Downloadable pdf agreements will generate in the background of the platform and will provide an alert in your notifications bell once complete.
To email agreement to client:
- Select ‘Email agreement to client’
- Select the relevant agreement template from the drop-down menu
- Choose recipient/s
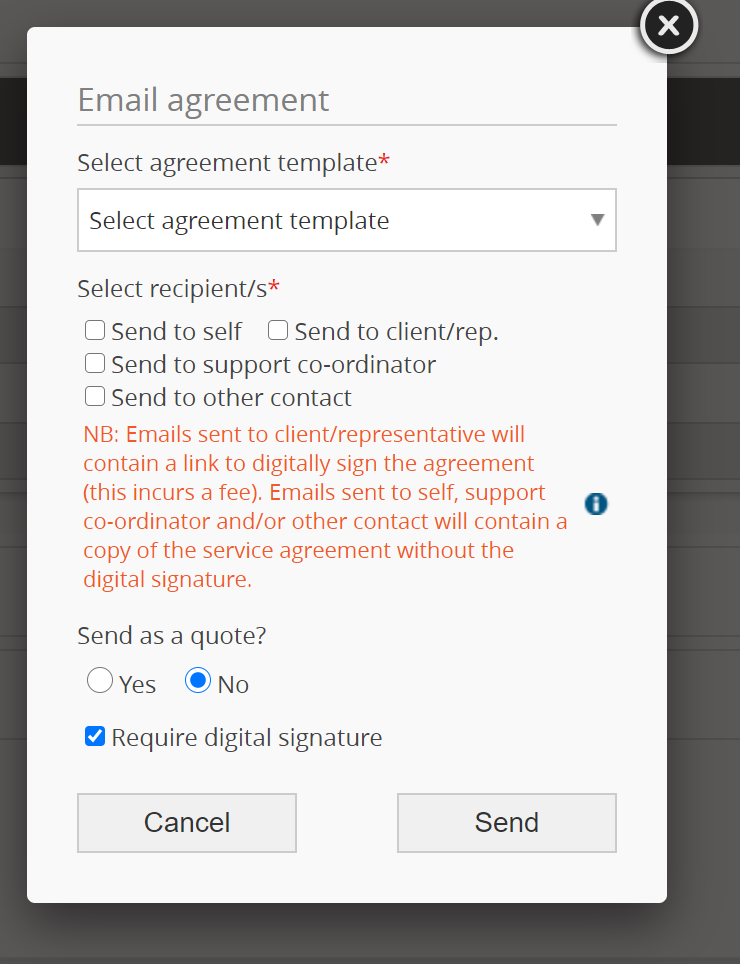
- If a support coordinator has been added to the engagement, you will have the option to send the service agreement to them. Otherwise you can send it to the support coordinator by selecting the ‘Send to other contact’ option.
- Select to send as a quote if required
- Select if a digital signature is required
- If ‘Require digital signature’ is ticked and the template has a signature tag – the documents will be signed
- If ‘Require digital signature’ is ticked and the template has no signature tag – Error message is shown to the client, saying that document needs to be signed
- If ‘Require digital signature’ is not ticked and the template has a signature tag – the signature tag will be left in the document
- If ‘Require digital signature’ is not ticked and the template has no signature tag – the documents are emailed without being signed.
- Select ‘Send’. A green message will display confirming the recipient’s email address.
NB: If a recipient does not have an email address, an error message will display, however the service agreement will be sent to the other recipients with an email address.
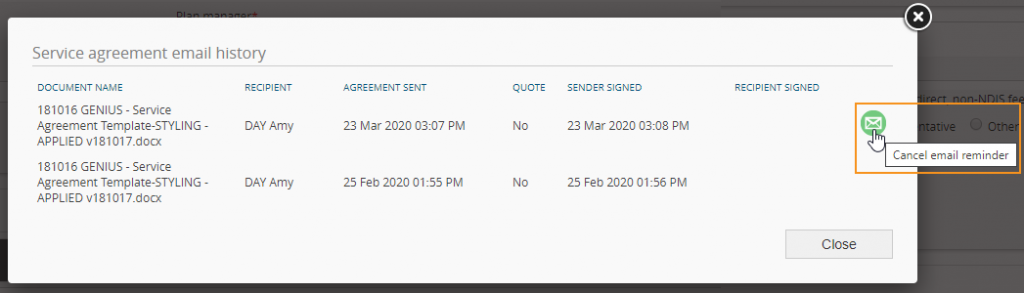
View email history
To view the email history of sent service agreements and quotes select view email history.

The Date of when last agreement was sent + signed is displayed in service agreement panel and summary will be shown in the pop-up for the clients/contacts who have received the service agreement.
Stop service agreement reminders
To stop sending a specific reminder for a signature on a service agreement, select the icon for cancel email reminder in the service agreement history pop up.
To stop all email reminders, you must go to ARM > Customisation > Settings via the side navigation menu and at the very bottom of the page there is a setting called ‘Electronic Signature’. Change this option to ‘Never’ and it will stop all reminder emails.
Please note that this will stop ALL email signature reminders to ALL clients.
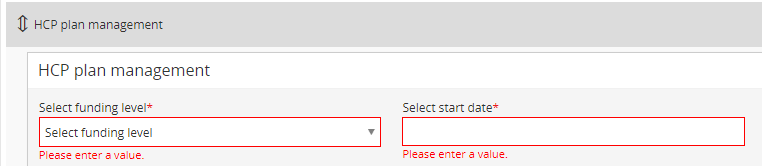
Administer HCP Plan Management
To enter HCP plan management details & budget:
- Navigate to ‘HCP Plan Management’ drop down in HCP client engagement.
- Click to drop down HCP plan management budgets.
- Select funding level.
- Enter plan start date.
 The funding level selected will pre-populate key fields based on the default package budgets previously set-up in GENIUS settings.
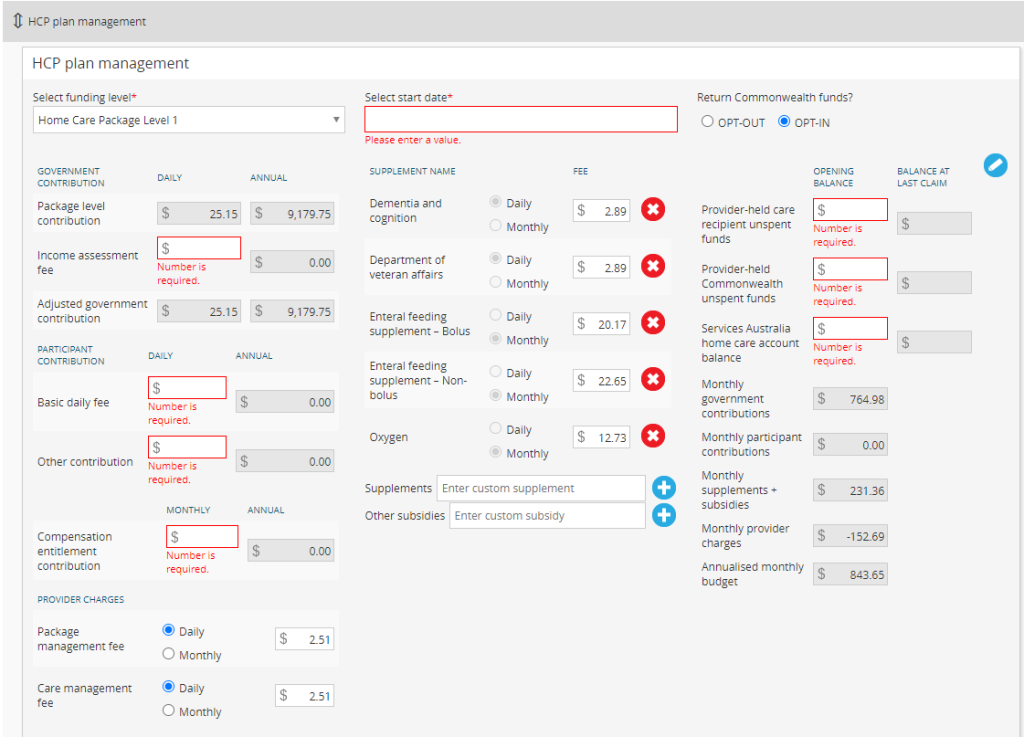
- Select either ‘Opt-In’ or ‘Opt-Out’ of ‘Return Commonwealth Funds’
You may be holding Commonwealth unspent amounts for people who were in your care before 1 September 2021. You must report these amounts for each care recipient before 31 December 2021, even if you hold $0 of unspent amounts.
Between 1 September 2021 and 28 February 2022 you can opt in to return these amounts. You can opt in some or all of your care recipients. If you do this, the amount you’re holding will be used to cover the cost of care for that person. This will happen until the unspent amount you’re holding reaches $0. During this time, the new monthly unspent subsidy will accrue in the person’s Home Care Account.
https://www.servicesaustralia.gov.au/reporting-commonwealth-unspent-amounts-for-home-care-package-subsidy?context=55893
- Fill in remaining blank fields (where applicable – if not required enter 0)
- ‘Income Assessment Fee’
- ‘Basic Daily Fee’
- ‘Other Contribution’
- ‘Compensation Entitlement Contribution’
- ‘Provider-held care recipient unspent funds’
- Provider-held commonwealth unspent funds’
- ‘Services Australia home care account balance’
Annual costs & balances will pre-populate based on the value of daily costs/opening balances.
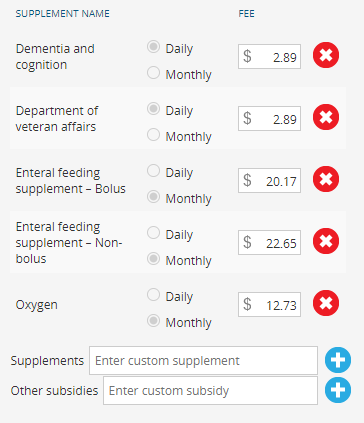
- Supplements that are not required can be removed by clicking the ‘x’ delete icon. Where required fee’s for these supplements can be updated.
- Custom supplements & subsidies can be added via the ‘+’ add icons.
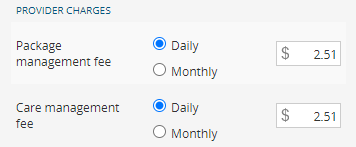
- Provider charges are pre-populated based on defaults entered in GENIUS settings. These can be customized on an individual engagement at both the rate and frequency level.
Administer documents
To add a document to the client engagement:

- The document name is the name of the uploaded file and cannot be altered
- Choose the document type
- HCP care plan
- Service booking + agreement
- Signed service booking + agreement
- Quote
- Consent
- Other
NB: Client engagement must be saved before documents can be added.
- To download a document, select ‘Download’.

- To remove a document, select ‘Delete’.
Save + close engagement
- Select ‘All required information has been entered and agreements have been signed’
- Select ‘Save + close’

Review client engagement history
GENIUS will store any changes made to a client’s engagement within the History panel. Whenever a change is made within the engagement, history will be recorded.
You can filter the history by selecting the filter icon in the right-hand corner.

History will also be available through the client’s GENIUS dashboard and ARM Pro History.