This component of the formSPACE module provides the ability to create, view, copy, edit or archive a template for a form.
Create template
Templates are created within formSPACE and the forms are sent to clients via email or via a unique URL.
To create a form template:
- Select ‘Form templates’
- Select ‘Create form template’
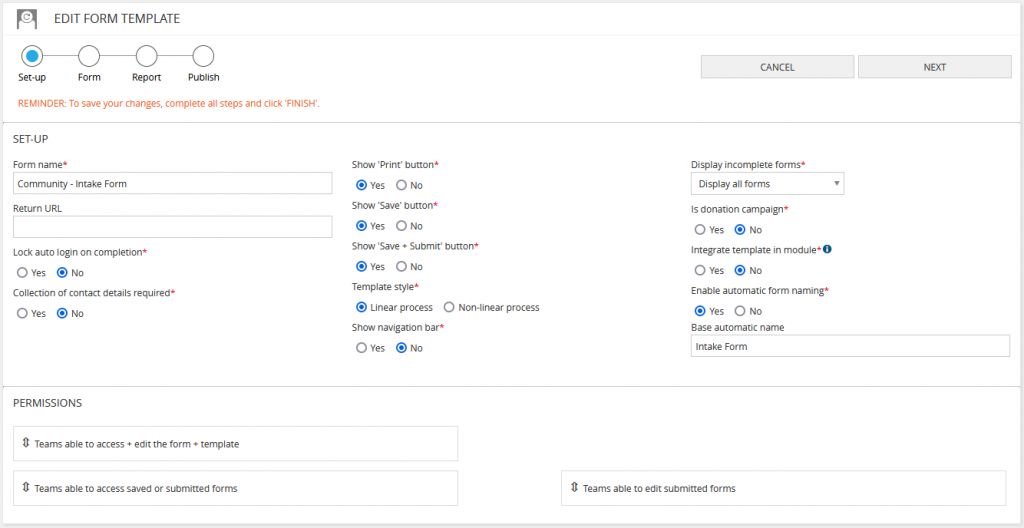
- Enter ‘Form name’
- Enter a ‘Return URL’. This is the page a client will be returned to after completing a form via a link.
- Display incomplete forms will default to ‘Display all forms’. This will show all forms in the form panel using this template. Changing this to ‘Hide incomplete forms’ will hide any forms that have not yet been completed from the form panel (e.g. forms that are currently in progress / being edited by staff).
- ‘Integrate template in module?’ Select ‘Yes’ or ‘No’ – Selecting ‘Yes’ will enable the connection of a template to another MYP module (GOMS/PocketWatch/94six)
- Selecting GOMS will allow for this specific form to be created within a GOMS session.
- Selecting PocketWatch means a form can be created from the check in/check out page of a shift.
- Selecting 94six means the form is available in the transitions panel of 94six. Please note: any forms that are integrated in 94six will be then only accessible via 94six, not formSPACE.
- Enter a ‘/base automatic name’. This prefills a name in each form.
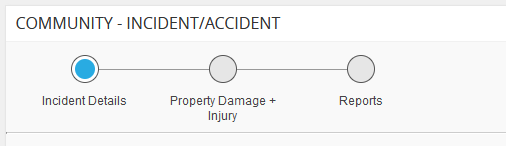
A linear process form will create a form with radio buttons to progress through the pages.
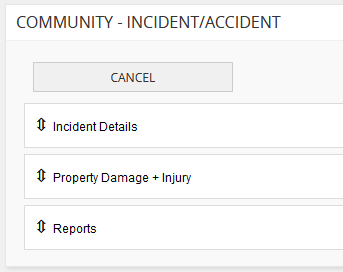
A non-linear process form will create individual pages as a drop-down style menu.
- Select ‘Lock auto login’ on completion
NB: This means that once the form has been completed, the link will no longer be active so the user cannot go back in and amend the form.
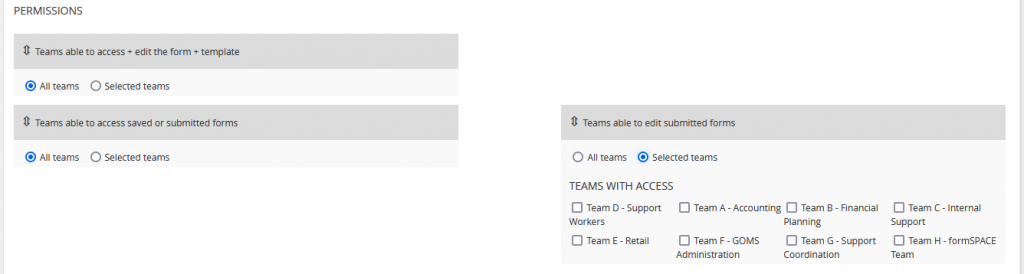
- Set any required team permissions
- Teams able to access + edit the form template
- Teams able to access submitted forms
- Teams able to edit submitted forms
- Select ‘NEXT’
- Use the drag-and-drop builder to create the form
- Select ‘NEXT’
- Use the drag-and-drop editor to create a report (optional)
- Select ‘NEXT’
- Select ‘Publish form’
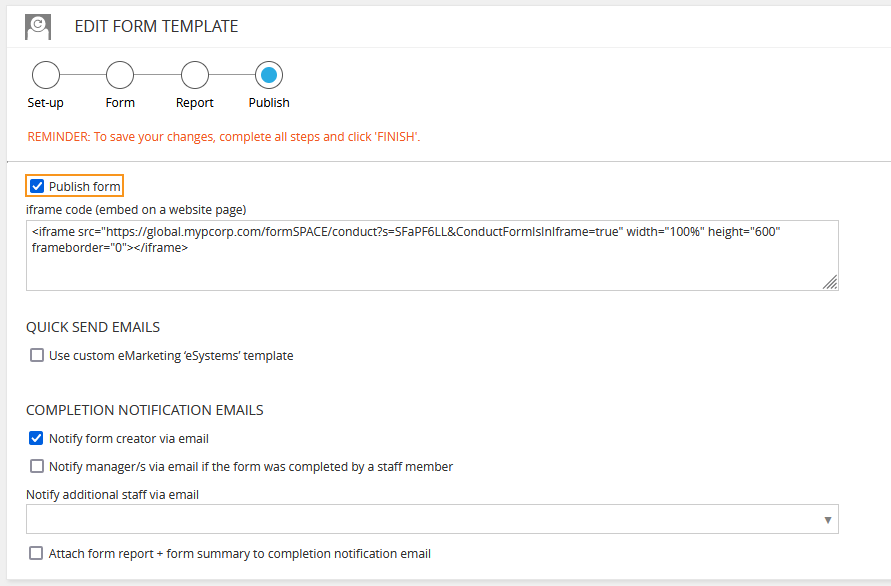
- Select use Custom eMarketing ‘eSystems’ template (optional)
- Select the relevant template from the drop-down
NB: Templates must be created in eMarketing first to be available in the drop-down.
- Select who is to receive notifications when the form is completed
- Notify form creator via email
- Notify manager/s via email if the form was completed by a staff member
- Notify additional staff via email
When a form is completed, the recipients of the notifications receive the following email.
Subject Line: <FORM NAME> – <CONTACT NAME> – completed notification
Hi <STAFF NAME>
<CONTACT NAME> from <ORG NAME> has completed the formSPACE form <FORM NAME>
- Select to ‘Attach form report + form summary to completion notification email’ to attach the form report + a PDF copy of the completed form to the completion notification
- Select ‘FINISH’
Administer existing form templates
To administer existing templates:
- Identify the relevant template and select the appropriate action
- Quick send email
- Edit
- Copy
- Archive
Quick send email
- Select the ‘Quick send email’ icon
- Search contact or select ‘New contact’
- Select ‘Send to self’ or ‘Send to contact’
- Select ‘Send’
Edit existing template
- Select the ‘Edit’ icon
- Make required edits
- Select ‘SAVE’ or ‘FINISH’
Copy existing template
- Select the ‘Copy’ icon
- Re-name template
- Make required changes to new template
- Select ‘FINISH’
Archive existing template
- Select the ‘Archive’ icon
Use drag-and-drop builder
The functionality of the formSPACE builder is consistent with eMarketing. Regular saving is strongly recommended. There are two sections to creating a form template:
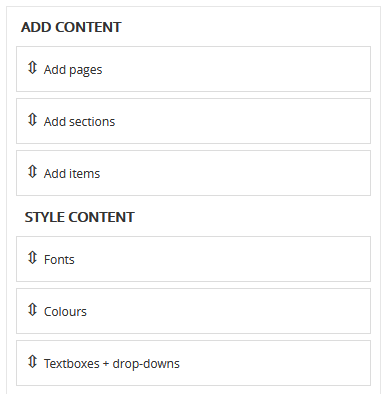
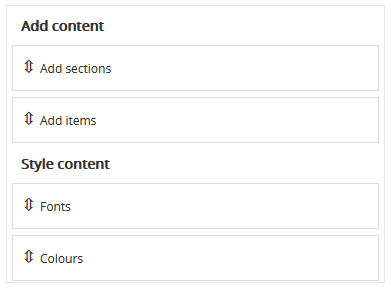
- Add content
- Style content
Begin in the add content area.
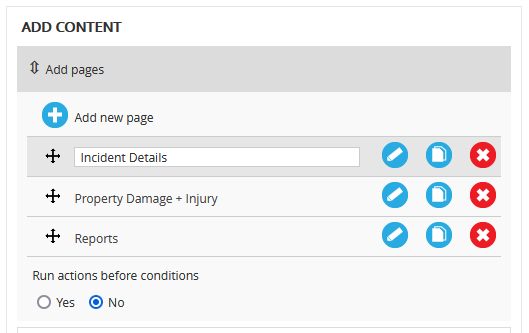
Add pages
The template builder defaults to one page.
 |
Add an additional page |
 |
Edit the page name |
 |
Move the order of pages by drag-and-drop |
 |
Copy page |
 |
Archive page |
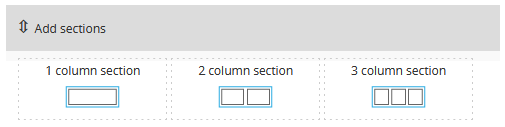
Add sections
To add a section to a form template:
- Select the relevant style using drag-and-drop action to create
Add items
To add items to a section in a form template:
- Select the relevant item using drag-and-drop action onto the relevant section.
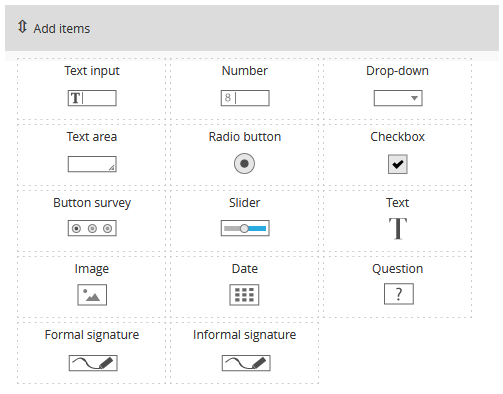
- Select the item on the page to open the builder. The following table and screenshots provide details of the functionality of each item.
 |
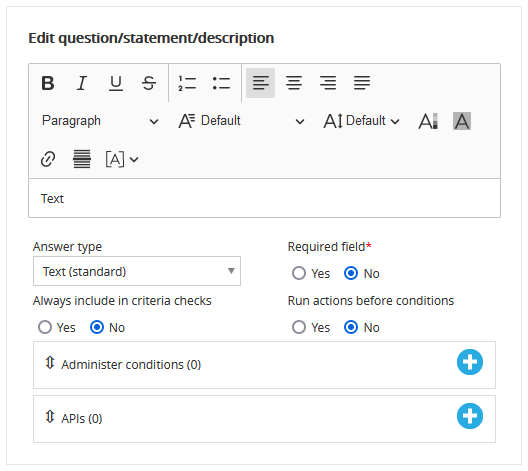
Text Input – WYSIWYG editor |
Answer Type
Text (standard)
Text (with special characters)
Auto complete previous answers
Required field
Administer conditions
APIs |
 |
Number – WYSIWYG editor |
Answer Type
– Number
Display number as
– Currency
– Currency (no cents)
– Percentage
– Custom unit
Required field
Administer conditions
APIs |
 |
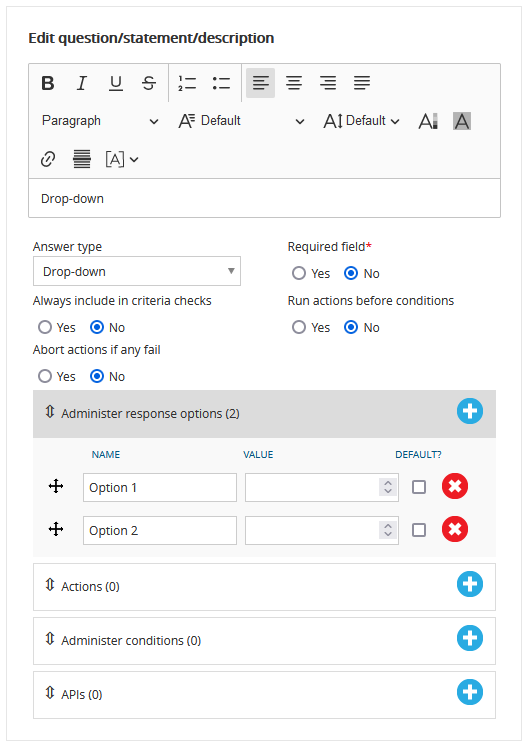
Drop-down – WYSIWYG editor |
Answer Type
– Yes/No
– Yes/No/NA
– Yes/No/Unsure
– Yes/No/Unsure/NA
– Yes /Mostly/Partially/No
– True/False
– Male/Female/Unspecified
Required field
Administer response options
Administer conditions
APIs |
 |
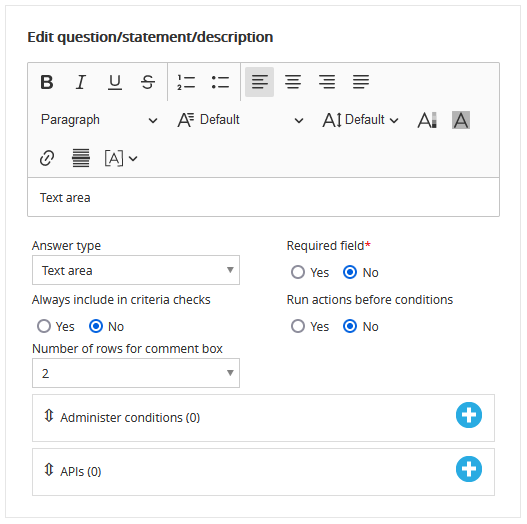
Text area – WYSIWYG editor |
Number of rows for comment box
– 2 – 22
Required field
Administer conditions
APIs |
 |
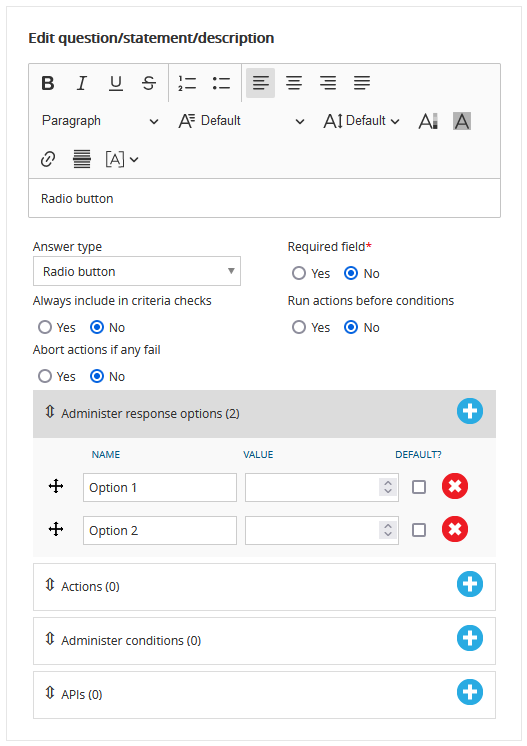
Radio button – WYSIWYG editor |
Answer Type
– Radio button
– Yes/No
– Yes/No/NA
– Yes/No/Unsure
– Yes/No/Unsure/NA
– Yes /Mostly/Partially/No
– True/False
– Male/Female/Unspecified
Required field
Administer response options
Administer conditions
APIs |
 |
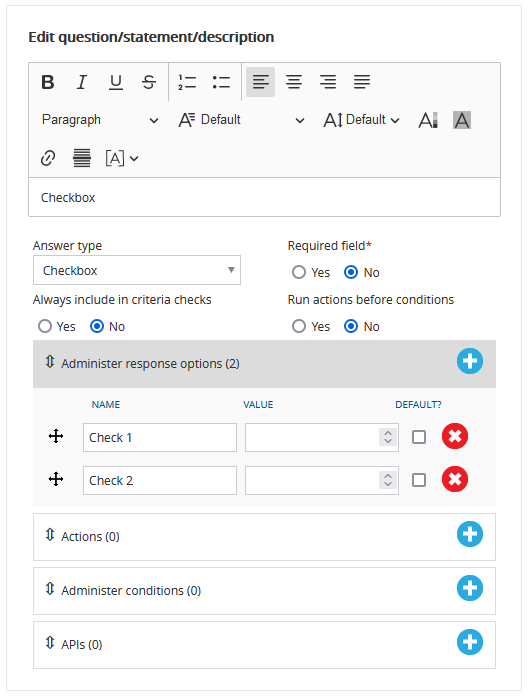
Check-box – WYSIWYG editor |
Required field
Administer response options
Administer conditions |
 |
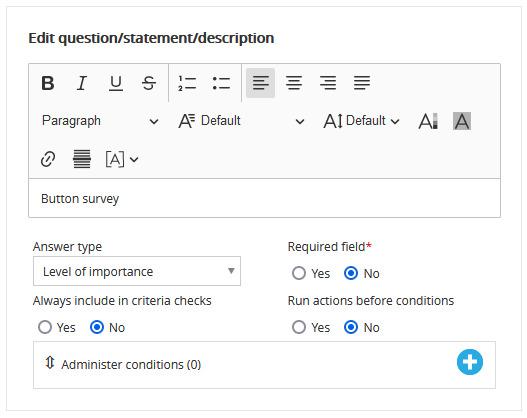
Button survey – WYSIWYG editor |
Answer type
– Level of importance
Default agreed action
Required field
Administer conditions |
 |
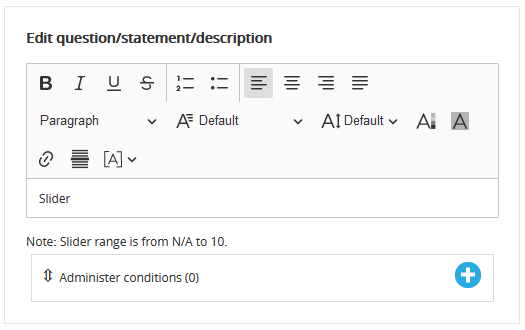
Slider – WYSIWYG editor |
Default answer 1 – 10
Custom number slider text
Default agreed action
Required field
Administer conditions |
 |
Text – WYSIWYG editor |
Free text
Can be used as label for other fields |
 |
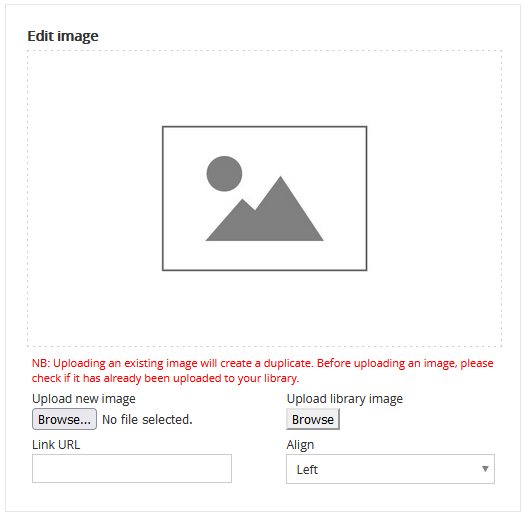
Image – file upload |
File upload
– Images will resize automatically to fit template section Images to be included in the forms or reports must be added at the correct size |
 |
Question – WYSIWYG editor |
Answer type
– Standard
– Selection based
– Other
Administer conditions |
 |
Date – file upload |
Answer type
– Date (selectable date)
Required field
Specific default date
System default date
Offset
– Days
– Months
– Years
Administer conditions
– APIs |
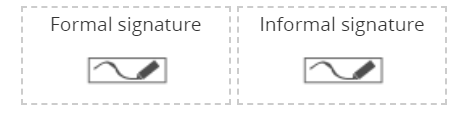 |
Signatures |
Formal signature
Informal signature |
NB: If adding a phone no. field to a form, use a text field, not a number field. This will accommodate spaces, dashes, plus signs and brackets in phone numbers.
Text input screen
Number input screen

Drop-down input screen
Text area input screen
Radio button input screen
Checkbox input screen
Button survey input screen
Slider input screen
Text input screen
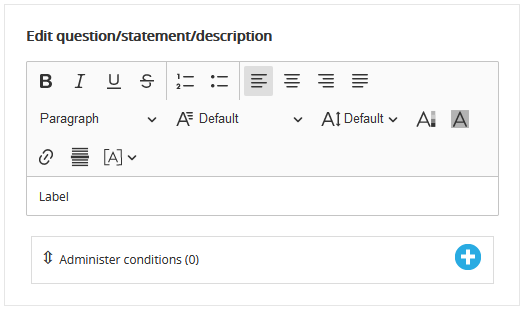
Image input screen
Date input screen
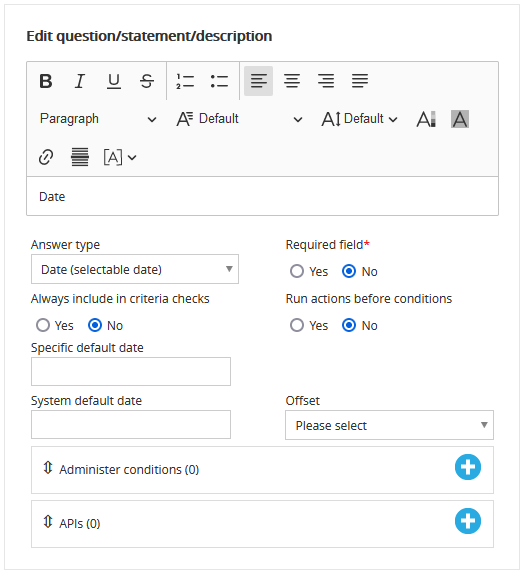
The specific default date field is used to specify a date as the default answer for a question. The system default date field is used to specify a default answer as an offset from the current date. There are two fields – one is a textbox that takes the offset as an integer, and the other is a drop-down that specifies the offset to be in days, months or years.
It is possible to have a minus or a plus amount.
When trying to work out if a person is over 18 years old:
- 18 in the first box for the system default date and select years from the drop-down
Question input screen

| Standard |
Description |
| Time |
Time list |
| File upload + document list |
Function to add files, URLs and/or documents from myDocs |
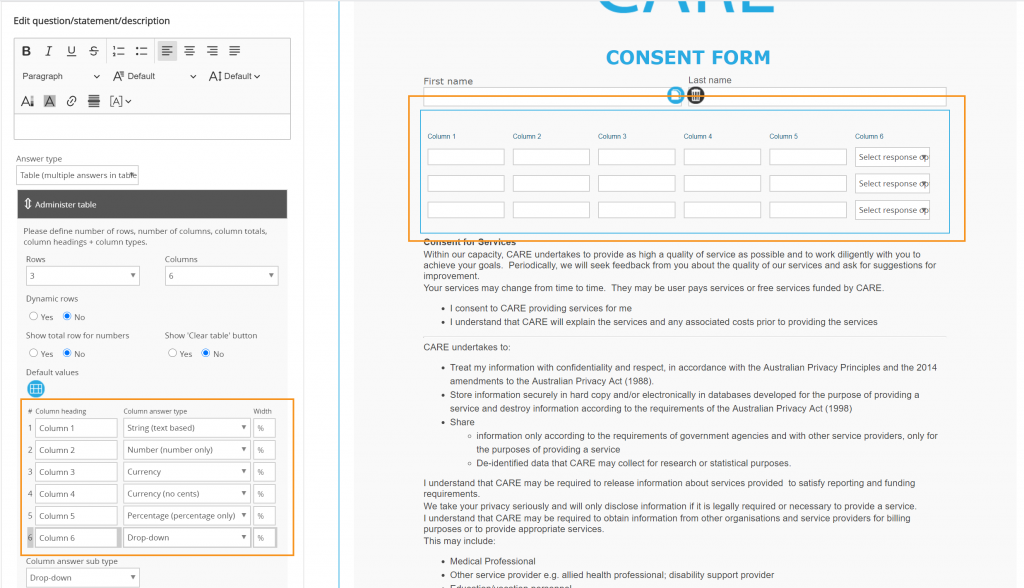
| Table |
Function to create a table for gathering data. Tables are limited to a maximum of 6 columns but have unlimited rows |
| Email |
Function to add an email address |
| System name |
Function to display and modify the system name |
| Notes |
Function to add a note |
| Editor |
Full WYSIWYG editor |
| Postcode |
Includes validation check |
| Selection based |
Description |
| Action plan |
Very High Priority, High Priority, Medium Priority, Low Priority, N/A |
| Title |
Mr/Mrs/Miss/Ms/Other title selection |
| State |
Australian state selection |
| Country |
Full country list |
| Industry |
MYP selected industry list |
| Level of agreement |
A simple level of agreement selection |
| Importance |
A level of importance toll that is set as radio buttons |
| Staff members |
A dynamic list of staff members from ARM |
| Client list |
A dynamic list of clients from ARM |
| Team list |
A dynamic list of teams from ARM |
| Months |
A simple month selection |
| Years |
A simple year selection |
| Consolidated groups |
A dynamic list of consolidated groups from the benchmarking module |
| ANZIC codes |
A 3 drop-down selection process to select an ANZIC code |
| ARM contact link |
Description |
| Email |
Adds the email field from contact in ARM |
| Full name |
Adds the full name field from contact in ARM |
| First name |
Adds the first name field from contact in ARM |
| Last name |
Adds the last name field from contact in ARM |
| Role in organisation |
Adds the role in organisation field from contact in ARM |
| Phone number |
Adds the phone number field from contact in ARM |
| Phone number 2 |
Adds the phone number 2 field from contact in ARM |
| Fax number |
Adds the fax number field from contact in ARM |
| Country |
Adds the country field from contact in ARM |
| Street address |
Adds the street address field from contact in ARM |
| Street address 2 |
Adds the street address 2 field from contact in ARM |
| State |
Adds the state field from contact in ARM |
| Postcode |
Adds the postcode field from contact in ARM |
| Birthday |
Adds the birthday field from contact in ARM |
| Partner first name |
Adds the partner first name field from contact in ARM |
| Partner last name |
Adds the partner last name field from contact in ARM |
| Partner birthday |
Adds the partner birthday field from contact in ARM |
| Other |
Description |
| Calculation |
Calculate any numeric field in the process |
| Action |
Adds the option of the following actions
– Send email |
| Action button |
Adds the option of the following actions from a button
– Send email |
| Create project from template |
Adds the option of choosing a project template to auto create a project |
Copy + delete functions
You can copy (or delete) any sections or items when building your form by using the copy or delete icons.

NB: When copying items any special configuration items or conditions will also be copied.
Style content
Content can be styled through each WYSIWYG editor or holistically thorough the style content area.
To change font style:
- Select the relevant font from the drop-down
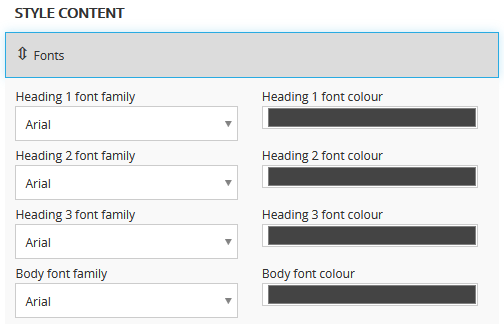
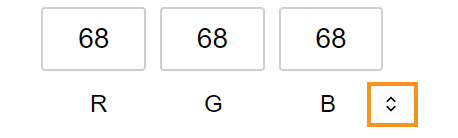
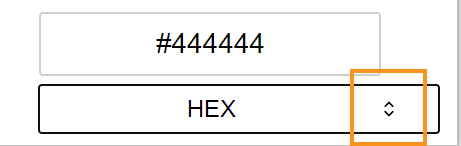
To change font colour:
- Select into the font colour field
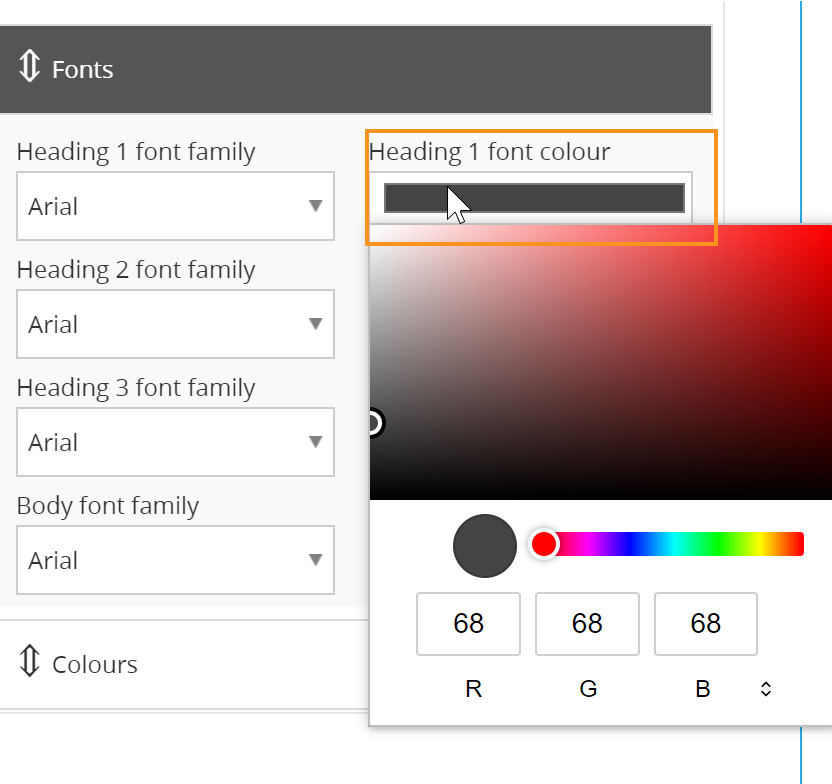
- Drag the white cursor OR move the arrows to toggle through colour options

To change background links and button colours:
- Select the relevant field and follow the same instructions for changing font colours.
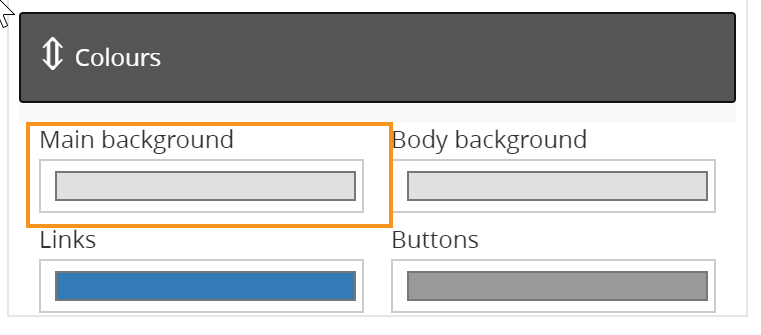
To change background colour of a section:
- Select the relevant section and follow the same instructions for changing font colours.
NB: IE users will have to click ‘Refresh’ to see the updates in the form builder.
Create report
A report can be created to summarise the information captured within an individual form. It also has the ability to pull information from other individual forms submitted.

- Select Report or select ‘NEXT’ to move to the report phase
- Add section
- Add text item to create answer tags
- Select the template you wish to pull information from in the template drop-down
- Answers can be pulled from other formSPACE templates
NB: Reports will only contain data from other forms that have been fully submitted.
- Select the answer tag from the question drop-down
- Select ‘+’
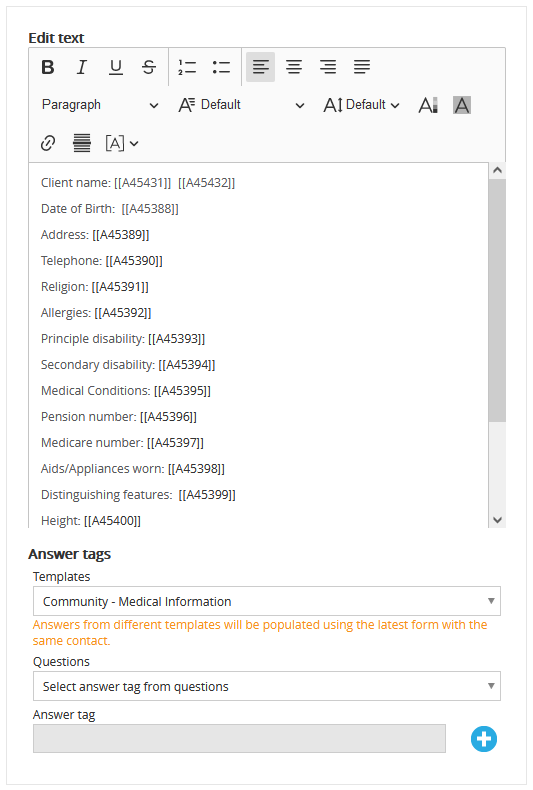
NB: This will add the answer to the bottom of the WYSIWYG editor page.
- Cut and paste into the correct place within the report
- Select ‘Save’
- Select ‘NEXT’
- Select ‘FINISH’
Publish form
A form must be published prior to use. This is the last step in the template creation phase.
- Select ‘Publish form’
- Select ‘FINISH’
Quick send emails
Choose a custom eMarketing template to use with quick send emails.
Any eMarketing template that has been created under the Survey Category eSystems can be chosen from the drop-down.
Completion notification emails
Choose to notify additional staff via email that the form has been completed.
Notify manager/s via email if the form was completed by a staff member.
Administer conditions
A form can be created with a series of conditions allowing additional fields to be generated if certain conditions are met.
To create a form with conditions, create all the fields required prior to administering the conditions.
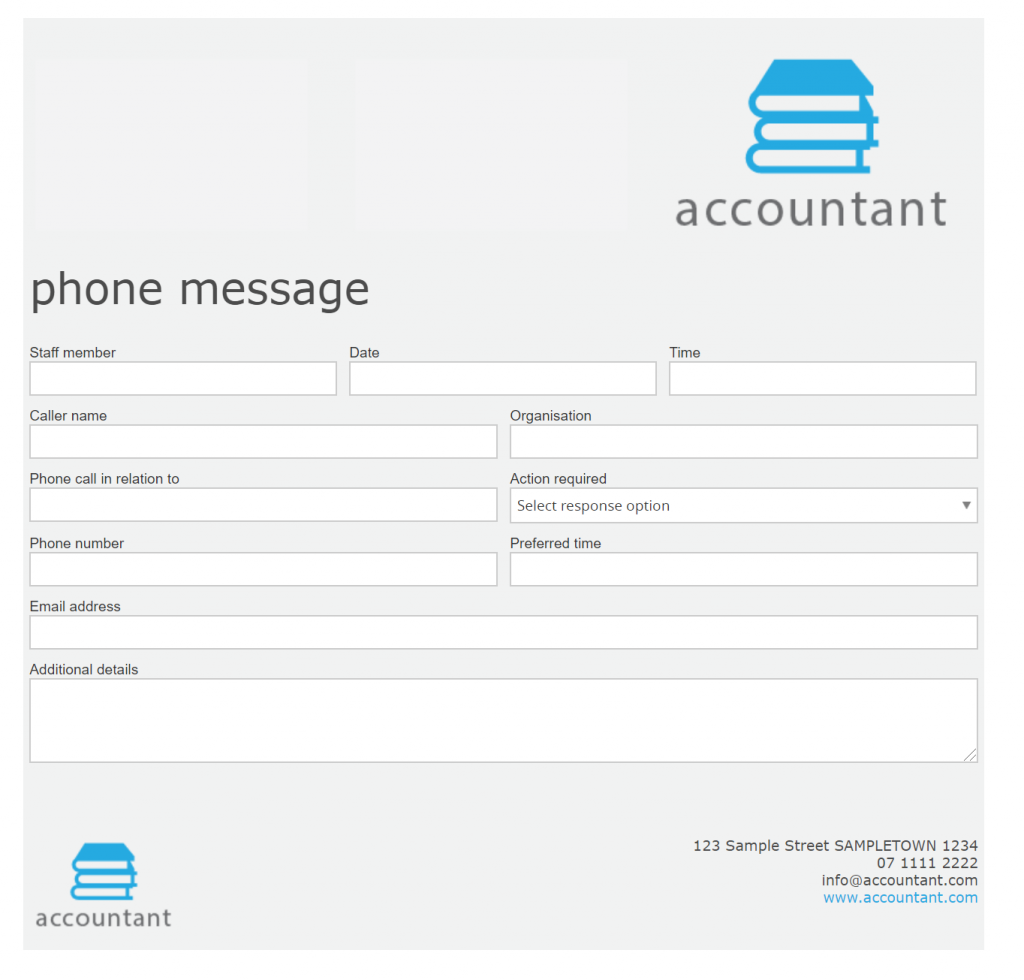
In the following example, the fields for phone number preferred time and email address have conditions attached.
To add a condition:
- Select the field the condition is to be added to
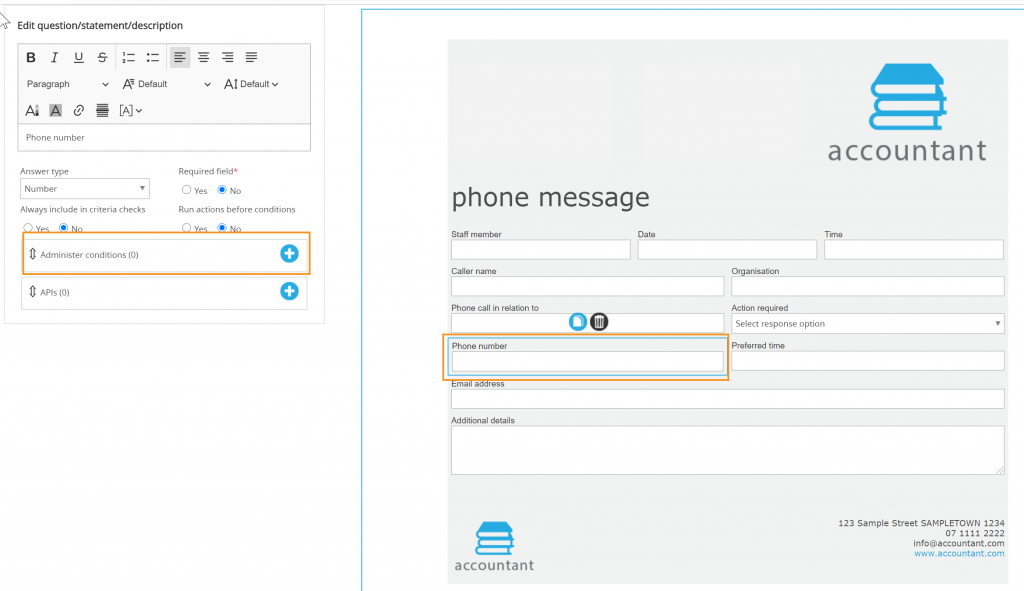
- Select ‘Add condition’
- Add name (for simplicity the field name)
- Choose the question
- Select the operator
- Select the value
- Select ‘Save’
NB: If the condition is associated/with the field is blank, check the box ‘Empty string’.

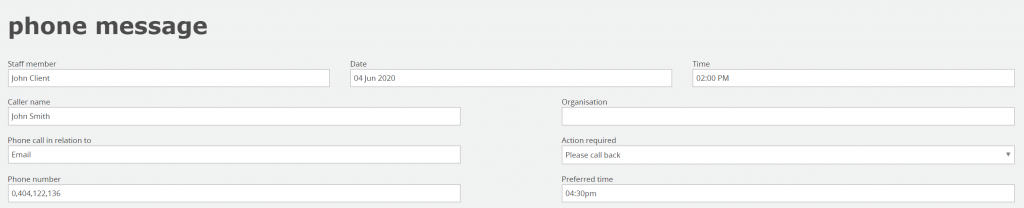
In this case, if the response to the action is to please call back the text field for phone number will show.
Administer APIs
formSPACE Pro supports Push, Pull and Push + Pull APIs which will:
- Push data entered on the form to a corresponding field in ARM Pro
- Pull data from a corresponding field from ARM Pro and display it in the form
- Push data entered on the form to a corresponding field in ARM Pro and display the data when the form is re-opened
A form can be created with a series of APIs allowing data to be pushed, pulled or both into and out of ARM.
To pull data in from ARM Pro:
- Access the formSPACE template builder
- Add a section
- Add item – Question
- Select the Question box in the builder
- From the Answer Type drop-down, select a field to be imported from ARM contacts
When a form is sent to a contact, the relevant details from ARM will be displayed in the form.
To push data to ARM Pro:
- Access the formSPACE template builder
- Add item for, example text field
- Select on the plus icon beside the API in the builder
- Select ‘MYP’ from the API drop-down
- Select ARM category:
- Contact
- Organisation (Client)
- Opportunity
- Opportunity task
- Project
- Project task
- Select the ARM Pro field
- Select the relevant transfer type
Push + Pull – Will import the relevant information from that field in ARM, and any updates during the form completion will update the field in ARM.
Push – Any field updates during the form completion will update the field in ARM.
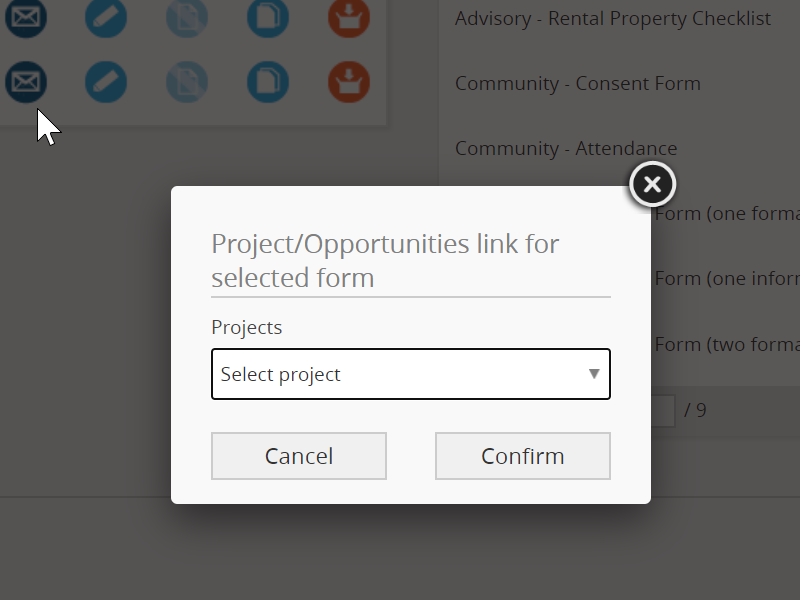
Pull – Any information in ARM will import into the form. NB: When adding an API for Opportunity, Opportunity task, Project or Project task, a pop-up screen will appear on edit of a form to link the requested Project/Opportunity.
Administer tables
To add a table into a form
- Select ‘Question’
- Choose table from the answer type
- Select ‘Administer table’
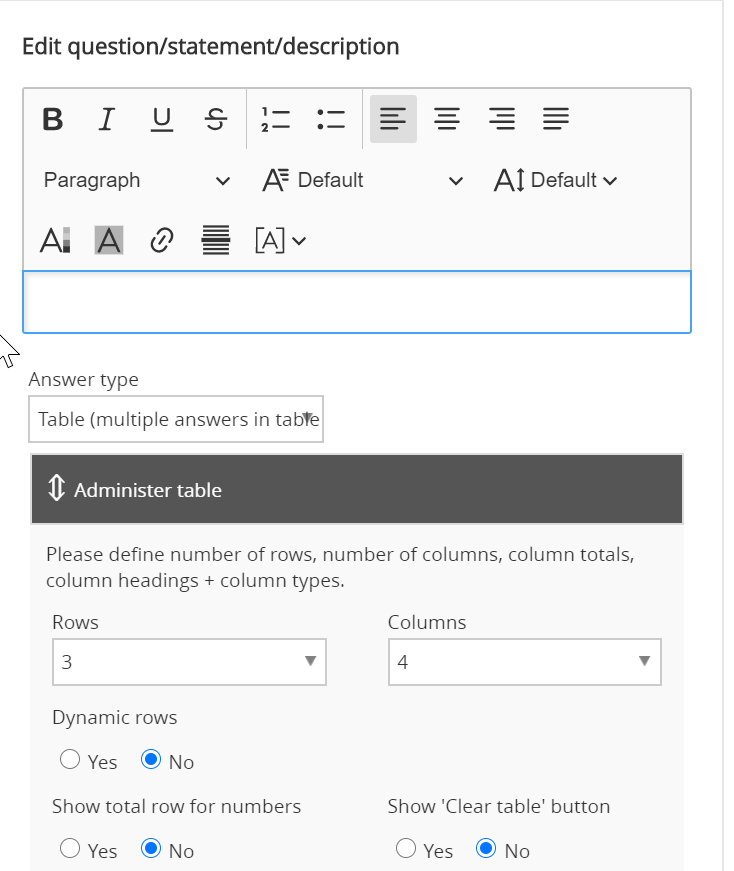
- Enter required no. of rows
- Enter required no. of columns
- Select dynamic rows for the user to add additional rows
- Select ‘Clear table’ for the user to be clear the full table
- Select ‘Show total row’ for numbers if required
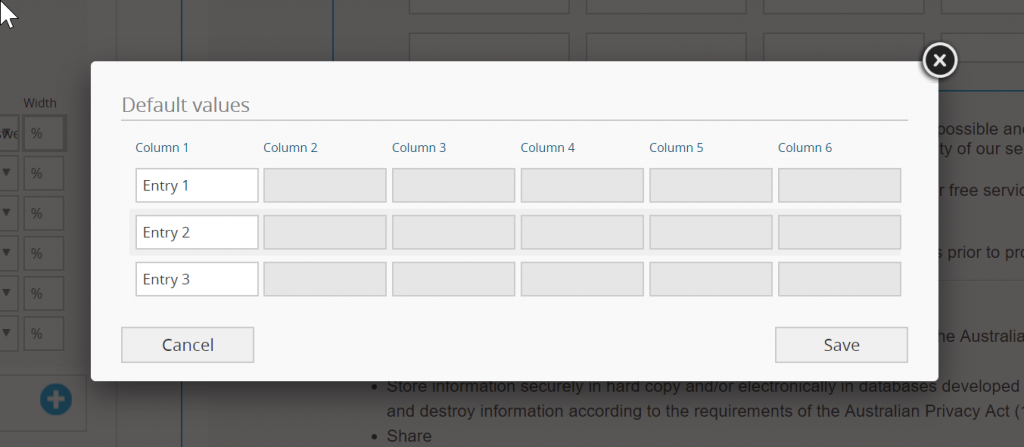
- Add in column headings
- Choose answer type
- String text based – provides a textbox for answer
- Statement – provides statement or heading only – not editable
- Number – provides a number box
- Drop-down – user defined – add in responses
NB: Saving tables take slightly longer than a normal save in formSPACE due to the complexity of the table functionality. When saved a message will appear with the date and time for last saved.
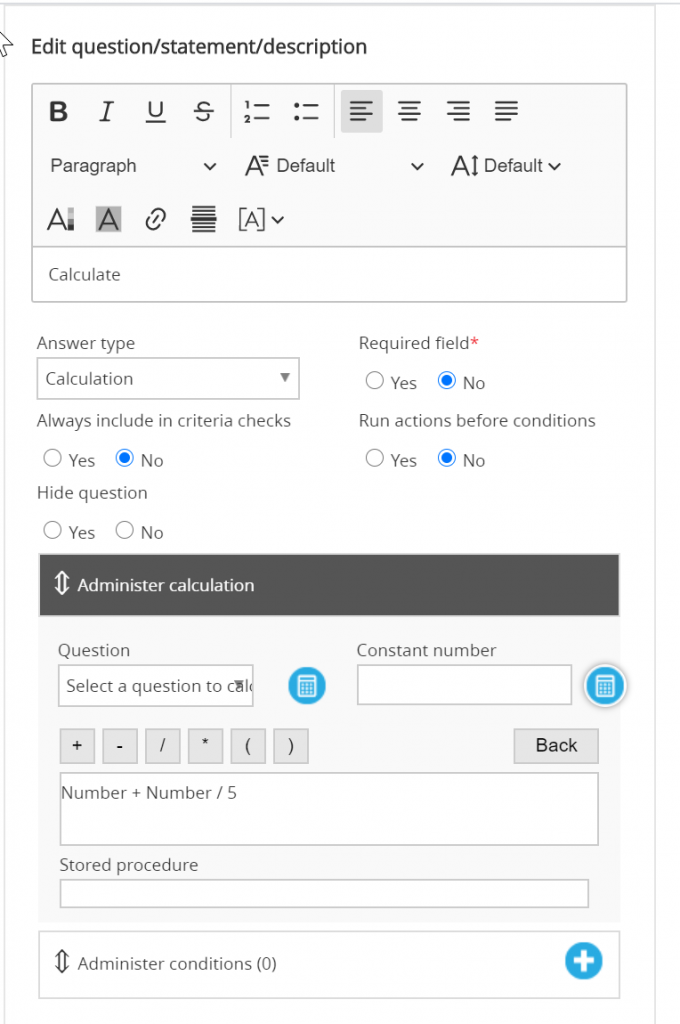
Administer calculations
To add a calculation to a form:
- Add as many fields for numbers as required
To create the calculation:
- Select ‘Question’
- Choose calculation from the answer type

- Select ‘Administer calculation’
- Select the question and choose the operation and/or constant number required