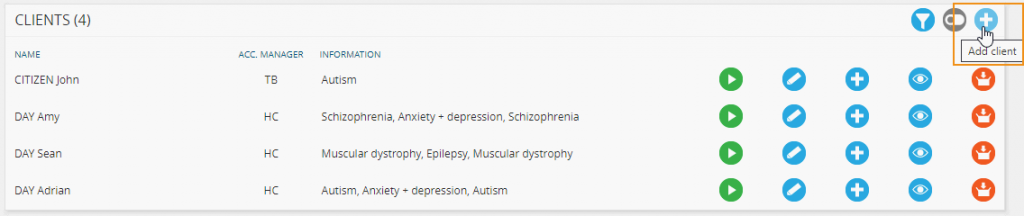
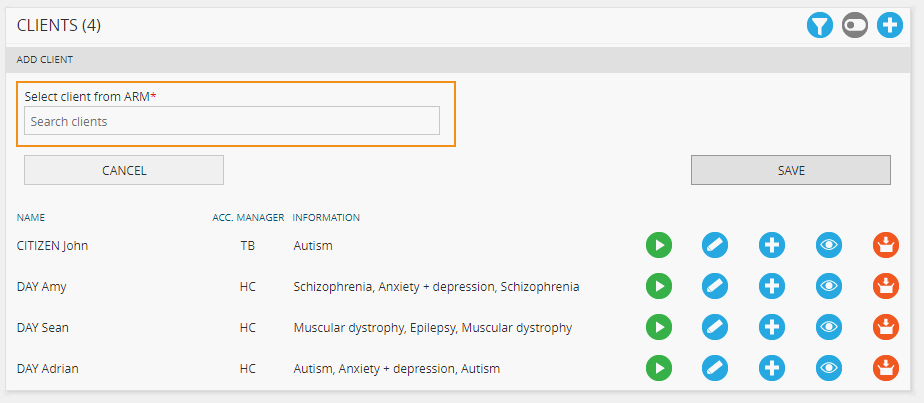
Create GOMS client
- Search for the client in ARM
- Select ‘Save’
- Enter in client information
- Primary disability
- Secondary disability
- Select formal an option from the ‘Formal diagnosis’ drop-down menu

- Select ‘GOMS information’
- Enter parent/carer/ guardian information by selecting the ‘Add PCG’ icon
- Select the relationship
- Search for the contact
- To continue to add contacts, select the ‘Add new PCG’ icon
- To remove a PCG, select the ‘Delete’ icon
NB: Contact information should be in as a contact in a group in ARM.

- Enter staff details by selecting the ‘Add staff’ icon
- Select the ‘Team visibility’, then select the relevant team from the drop-down menu
- Select ‘Planner’ + ‘Additional planner’, then select the relevant staff member from the drop-down menu
- To remove a team/staff, Select the ‘Remove staff’ icon

NB: Teams and Staff are added in ARM. Please refer to the ARM + ARM Pro Get Started myHelp for further details.
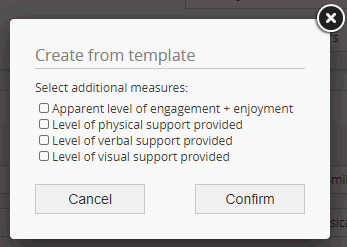
- Enter additional measures by either selecting ‘Add measure’ or ‘Create from template’
- When adding a measure, enter in a title + description (repeat as required)
- When creating from a template, select all appropriate additional measures from the pop-up that apply.
- Select ‘Create’

Enter goals + objectives
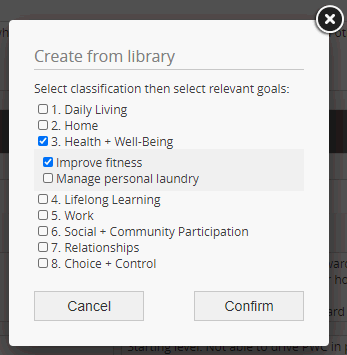
To create a goal from the library:
- Select ‘Create’ from library
- Select classification options from library
- Select relevant goals
- Select ‘Confirm’

To create a new goal:
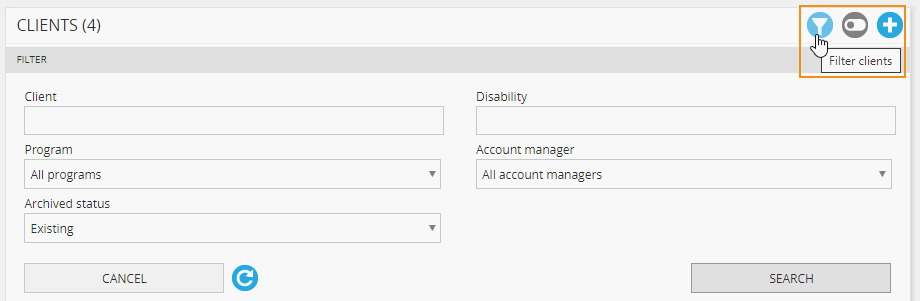
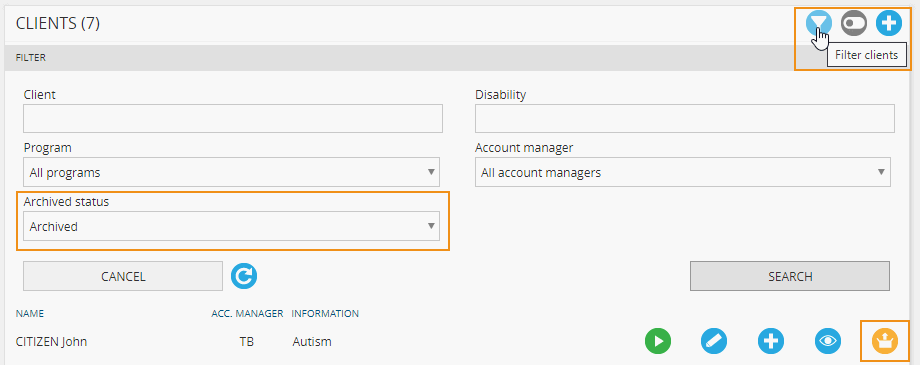
Search for clients
- Select the filter icon from the client panel
- Filters include:
- Client name
- Disability
- Program
- Account manager
- Achieved status
- Select ‘Search’
Search for clients in ARM
From the ARM dashboard:
- Search clients + contacts for client name
- Select client
- Select GOMS icon in ‘Client’ panel
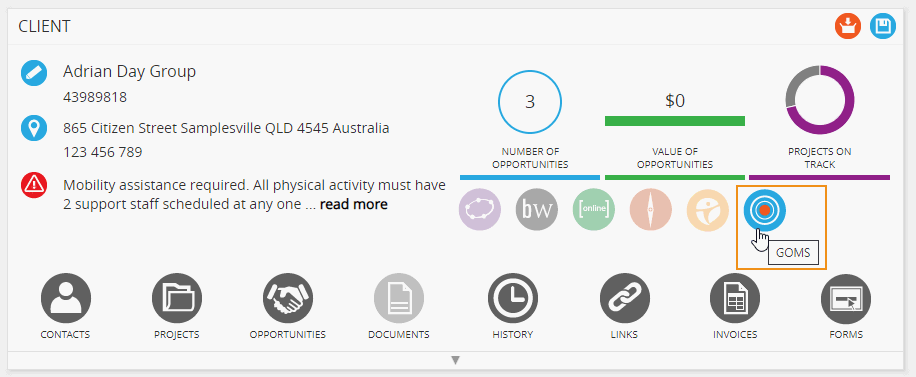
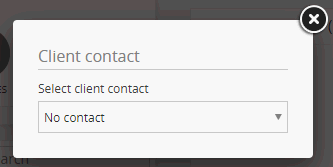
NB: If the client selected is a group, then selecting the GOMS icon will prompt a pop-up to select individual contact.
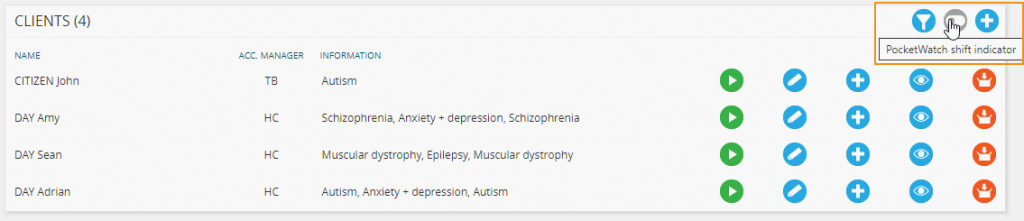
View clients with PocketWatch shift
- Select the ‘PocketWatch shift indicator’ toggle
Provide dashboard access
If relevant, clients and contacts can be provided with access to their GOMS dashboard by a staff member with permission to administer client logins (refer to GOMS recommended permissions).
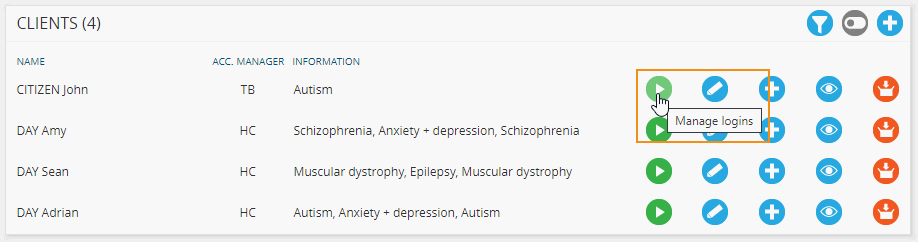
- Navigate to the GOMS client panel
- Identify relevant client
- Select ‘Manage logins’
- Search contacts within ‘Manage logins’ pop-up
- Select GOMS
- Select ‘Send login’
- Select ‘Save’
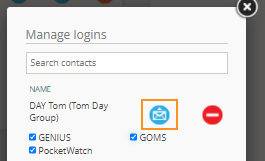
NB: You can reset logins via the same method above. Access to GOMS, GENIUS + PocketWatch is via the same dashboard. Only one login needs to be sent.
Archive + unarchive client
A staff member with permission to archive clients can archive and unarchive clients (refer to GOMS recommended permissions).
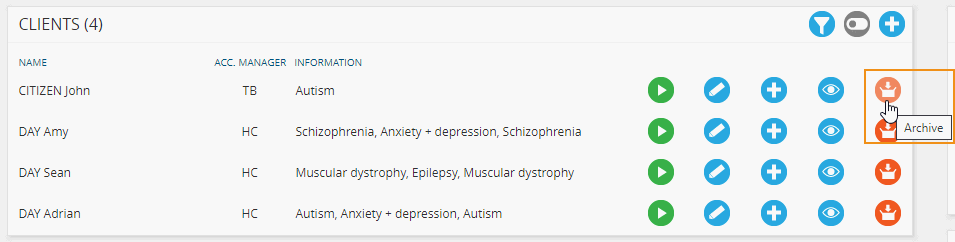
To archive a client:
- select the ‘Archive’ button on the client panel
To unarchive a client:
- Select the archived status from the filter display in the client panel
- Select ‘Unarchive’
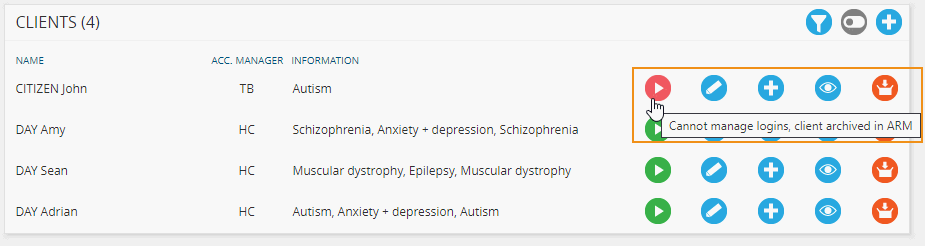
NB: Archiving a client in GOMS does not archive the client in ARM. To archive a client in ARM refer to ARM + ARM Pro myHelp. If a client has been archived in ARM but not in GOMS, then the client will still appear in the GOMS client panel and the ‘Manage logins’ icon will be red.