Administer events
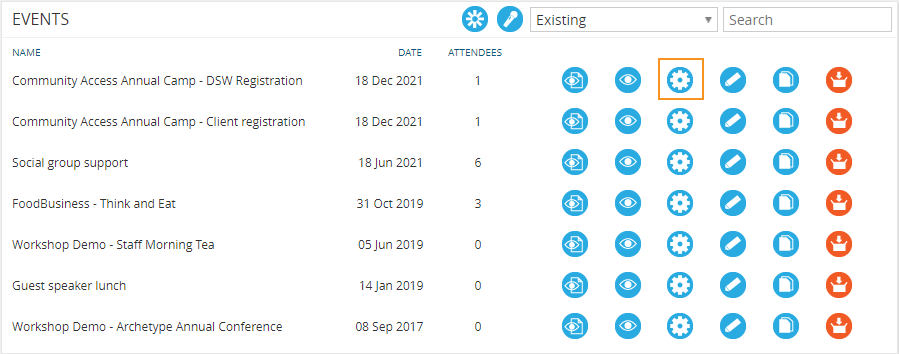
To view, edit, copy or archive an event:
- Identify the relevant event and select ‘View event’, Edit’, ‘Copy’ or ‘Archive’ as required
- If editing or copying an event, update relevant details and select ‘Save’
Manage event registrations
Event registrations are created in two ways:
Register via campaign link
Attendees can register for an event by clicking on the link in the eMarketing campaign. MYP users have the ability to login as part of the registration process and the system will then auto populate the registration details as read only fields.
Once a first time registrant has completed the registration process, they will be given the option at the bottom of the page to provide a security question and answer. Completing this section will trigger an automated email containing login and password details for future registrations. This will enable the data fields to be pre-populated when registering for future events.
Registrations can be made on behalf of an individual or an organisation. If the ‘private individual’ option is selected details will be updated in ARM for the individual contact. If ‘Organisation’ is selected, details will be update in ARM for the organisation.
When the attendee selects ‘Submit’ at the end of the registration process, the registrations are automatically linked to the event.
Social media – the event registration page contains the ability for attendees to use relevant social media to share the event with others.
NB: When sending the registration link via eMarketing email template to send to contacts within ARM Pro, the URL is converted to an auto login URL. This means that the URL is personalised specifically to the email recipient. When this link is accessed and the contact is not logged into MYP, the event registration page will auto populate with the details of the email recipient and the fields will also be locked.
To stop the event registration page from auto populating and locking the fields, when adding the URL into the ‘Link URL’ field, add double quotations at the start and end of the URL (e.g. “https://global.mypcorp.com/eMarketing/EventRegistration?a=309&c=NEW+EXAMPL”).
Update registrations
To manage registrations:
- Identify the relevant event and select ‘Manage registrations’
- Filter search as required by selecting the relevant items from the drop-down menus and select ‘Search’
- The table displaying the search results contains clickable headings to refine the search further
- Locate the required attendee and select the relevant ‘Edit’ button depending on whether the edit is required to the “Registration’ or the ‘Attendee’
- Select ‘Save’ when edits completed
NB: If required, an attendee registered from an organisation can be replaced by another from the same organisation by selecting ‘Edit’ beside the existing attendee, then selecting the replacement from the ‘Name’ drop-down menu.
Manage attendee check in
Registrants attendance can be marked off in events.
To check in attendees:
- Select ‘eMarketing’
- On any eMarketing Event Select ‘Manage Registrations’

- This will change colour to green and display checked in Date + Time. Once clicked the button should be disabled.

Generate registration reports
Reports are available that capture event registrations and attendee details.
To access:
- Identify the relevant event and select ‘Manage registrations’
- Select the required report from the radio buttons
- Select the ‘View’ icon to view the report in MYP
- Select the PDF or Excel button to export the required file type