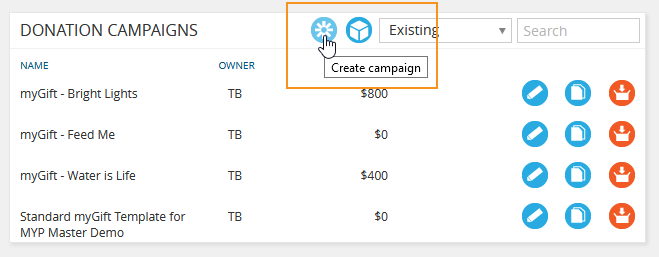
There are two ways to create a campaign:
- Via a new campaign
- Via a template
Create new campaign
The recommended settings are as follows:
- Enter form name – This is the campaign name (will appear as is in the campaign details panel)
- Return URL – Recommended – Your organisation’s own webpage
- Lock auto login on completion – Set to no
- Form distribution – External
- Collection of contact details required – Yes
- Show print button – No
- Show save button – No
- Show save + submit button – Yes
- Template style – Linear process
- Display incomplete forms – Display fully completed forms
- Is donation a campaign – Yes
- Insert form in Module – No
- Enable automatic form naming – No
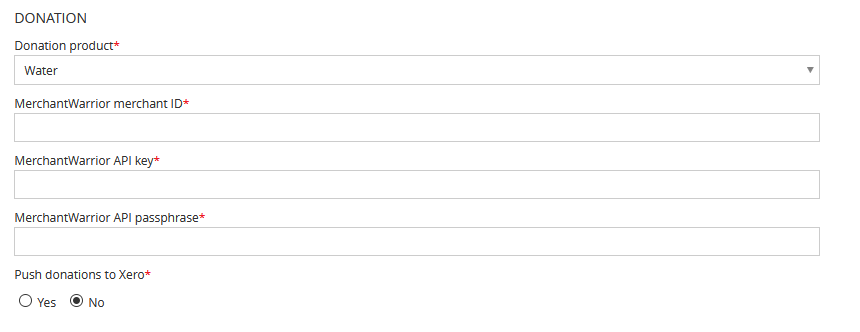
- Enter donation information
- Donation product
- MerchantWarrior merchant ID
- MerchantWarrior API key
- MerchantWarrior API passphrase
- Push donations to Xero – Yes or no
- Select ‘Next’
- Create campaign page using the style editor
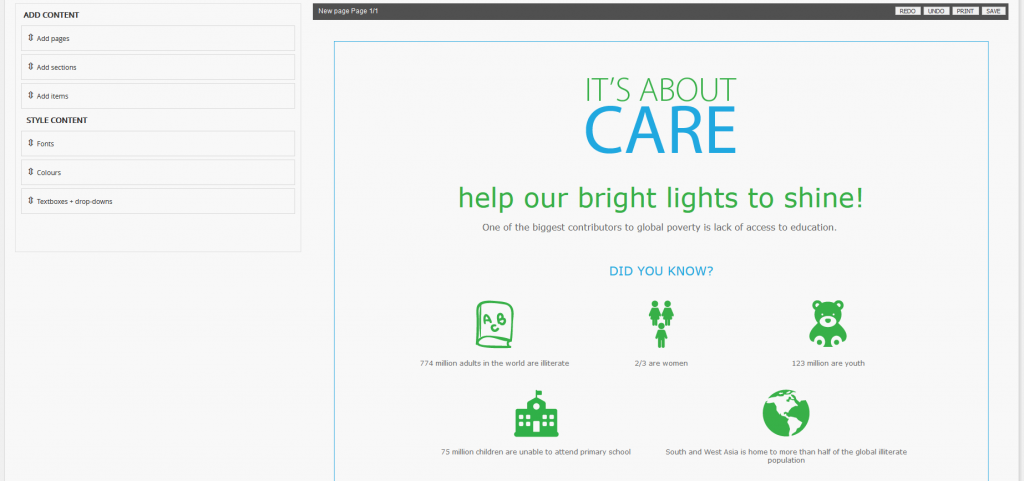
- Style content/information/images

- Add 3 column section*
- Add question item to each section
- Answer type first name, last name, email
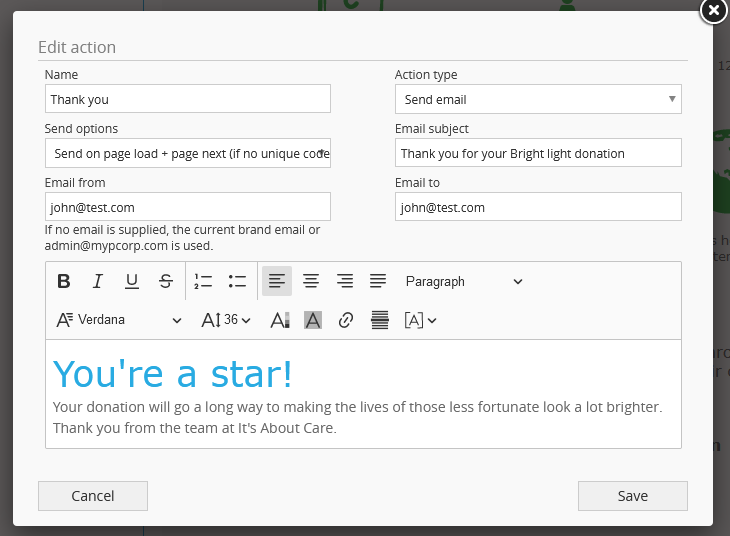
- Add action*
| Action |
Value |
| Name |
Thank you |
| Action type |
Send email |
| Send options |
Send on page load + page next (if no unique code) |
| Enter subject |
Thank you for your donation |
| Email from |
Enter an email address |
| Email to |
(as above) |
| Content |
Enter email content |
NB: This email will send with the invoice.
- Add condition to action*
- Select <action>
| Condition |
Value |
| Name |
If action |
| Next question from |
Select the last option |
| To |
Select next to question |
| Condition type |
Condition |
*Mandatory responses and requirements
NB: The myGift Quick Start myHelp can be found here.
Use drag-and-drop builder
The functionality of the myGift builder is consistent with the formSPACE and eMarketing module. Regular saving is strongly recommended. There are three parts to building a campaign:
- Add sections
- Add items
- Style content
Add sections
To add a section to a template:
- Select the relevant style using drag-and-drop action to create
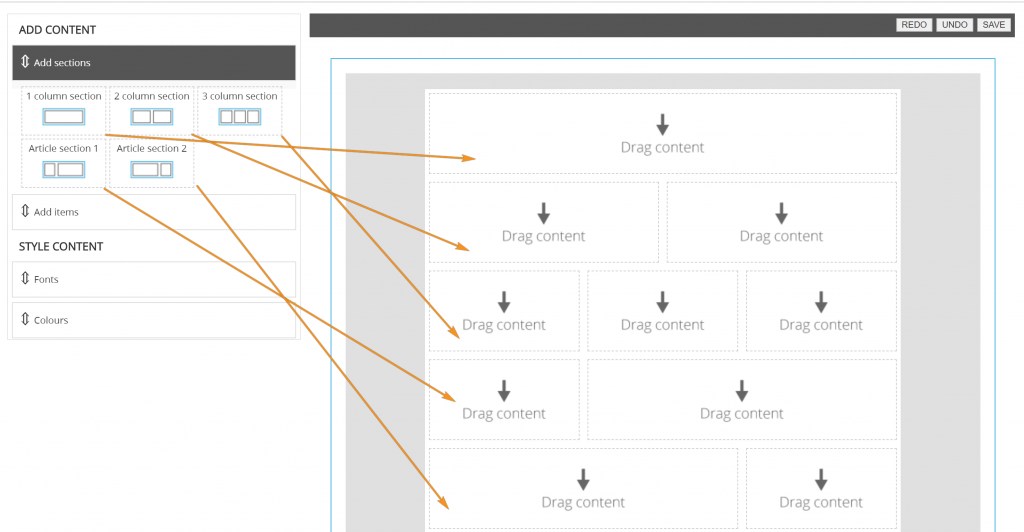
Add items
To add items to a section in a template:
- Select the relevant item using drag-and-drop action onto the relevant section.
- Select the item on the page to open the builder.
The following table and screenshots provide details of the functionality of each item:
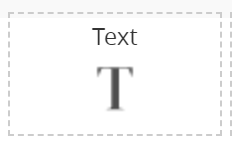 |
Text – WYSIWYG editor |
Padding – top, bottom. left and right |
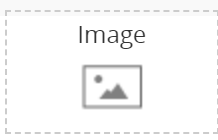 |
Image – file upload |
File upload
Browse server
Link URL
Align
Padding – top, bottom. left and right |
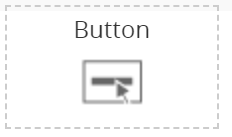 |
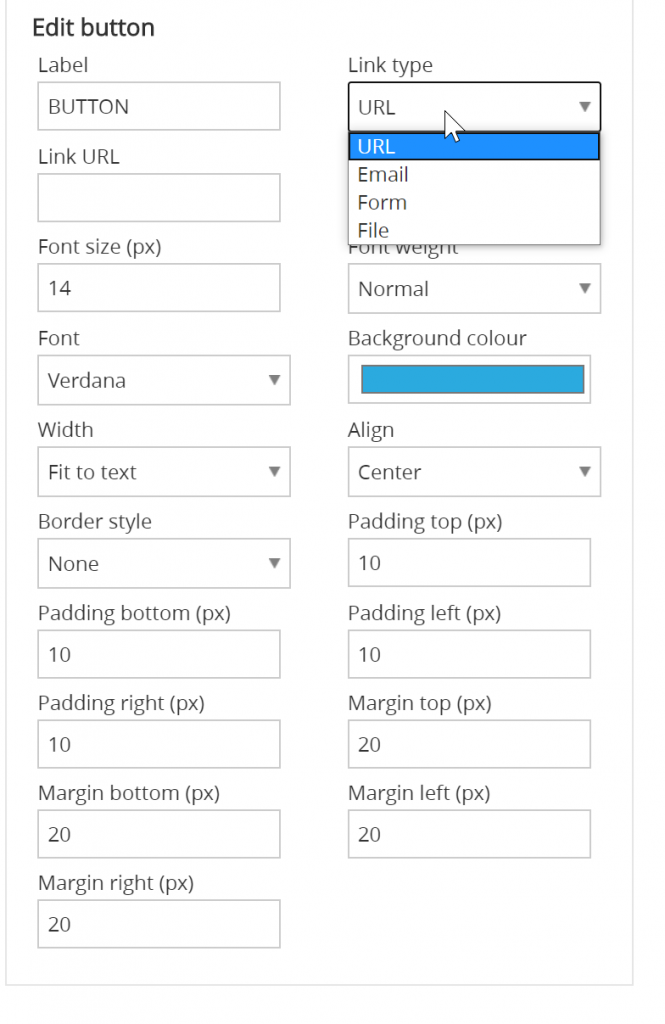
Button |
Label
Link URL
Font colour
Font size
Font weight
Font
Background colour
Width
Align
Padding – top, bottom. left and right
Border style
Border width
Border colour |
NB: Images will resize automatically to fit template section. Images will size down but will not size up. i.e. an 800px image will resize to 600px but a 450px image will stay at 450px. Images to be included in the forms or reports must be added at the correct size.
Style content
Content can be styled through the WYSIWYG editor or holistically thorough the style content area.
To change font style:
- Select the relevant font from the drop-down menu
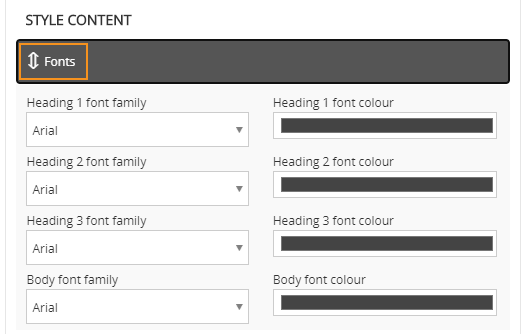
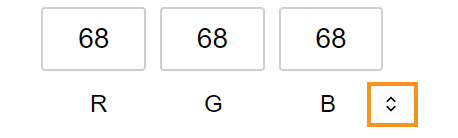
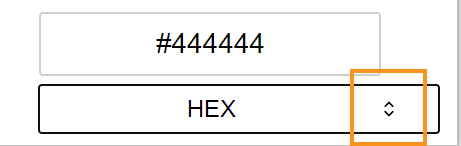
To change font colour:
- Select into the font colour field
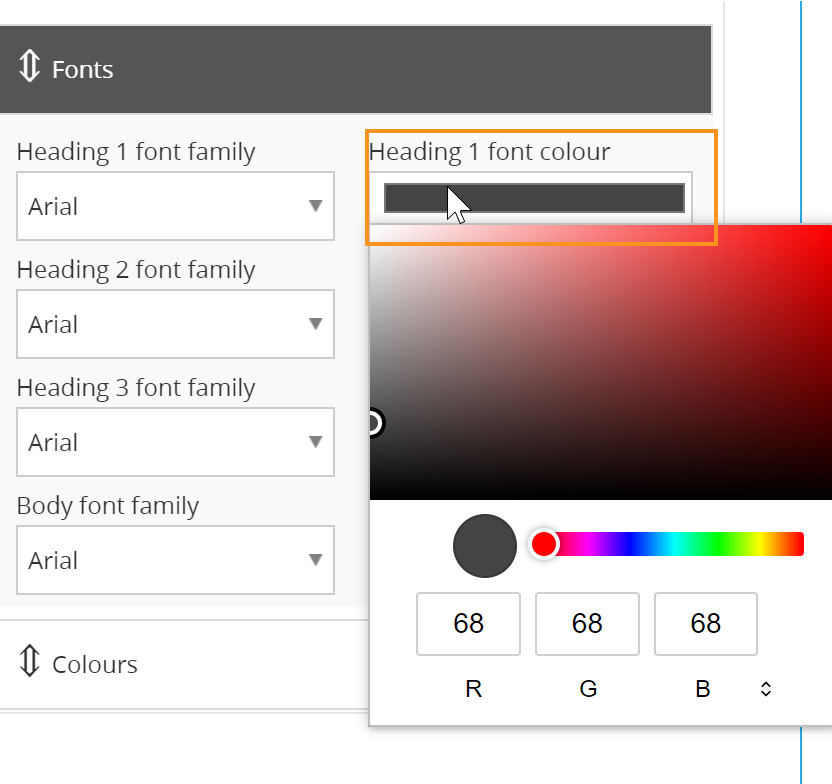
- Drag the white cursor OR move the arrows to toggle through colour options

To change background links and button colours:
- Select the relevant field and follow the same instructions for changing font colours.
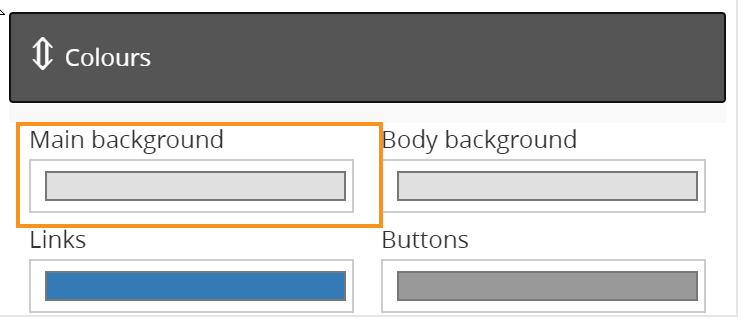
To change background colour of a section:
- Select the relevant section and follow the same instructions for changing font colours.
NB: IE users will have to click ‘Refresh’ to see the updates in the form builder.
To add in a ‘view in browser’ tag into campaign templates select the appropriate tag from the editor.
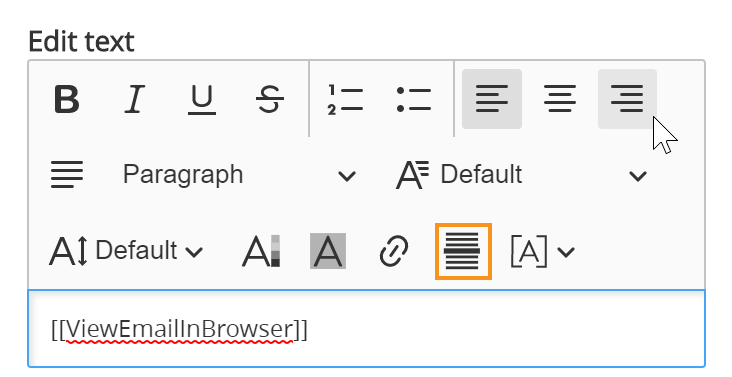
This will generate a ‘Having trouble viewing in browser? Click here’ link which will open up the email campaign in the user’s browser.
Add links to images + buttons
- Select edit button or edit image
- Select link type
To add an email link:
- Select the ‘Email’ link type
- Add email address
- Add email subject
To add a URL:
- Select the ‘URL’ link type
- Add URL link
To add a form:
- Select the ‘Form’ link type
- Select survey
- Enter reminder option
- Enter reminder end date
NB: Subscription to formSPACE is required for this option.
To add a file:
- Select the ‘File’ link type
- Upload file
NB: For display purposes across the variety of email clients, it is strongly recommended that dot points are left aligned.
Create campaign via template
- Select copy against the standard template
- Change the name and update the place-holder images and text
Create report
A report can be created to summarise the information captured within an individual campaign. This can be sent as a PDF file to be printed or email independently.
- Select the campaign
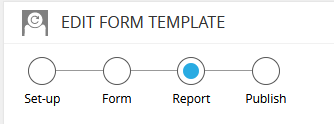
- Select ‘Report’ or select ‘Next’ to move to the report phase
- Add a section
- Add an item
- Add text item to create an answer tag
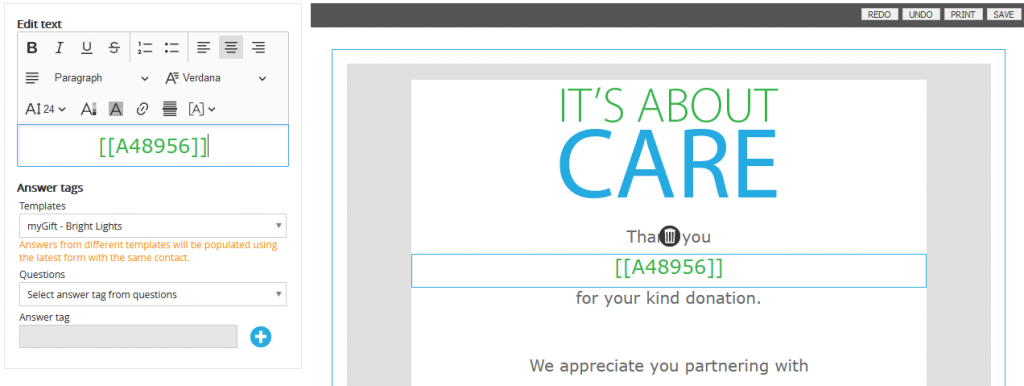
- Select the Answer tag from the question drop-down
- Select ‘+’
NB: This will add the answer to the bottom of the WYSIWYG editor page.
- Cut and paste into the correct place within the report
- Select ‘Save’
- Select ‘Publish’
- Select ‘Finish’
Publish + share campaign
- Select ‘Publish’
- To embed on a web page, select the iframe code
- To add to an email campaign or on social media, select the URL from the iframe code