This component of the eMarketing module provides the ability to create, view, copy, edit or archive a template for a campaign.
Create communication category
Templates are created within communication categories. Custom categories can be created in addition to the standard MYP categories (e.g. WITY, BW etc).
To create a custom category:
- ‘Communication Categories + templates’
- Select ‘Create category’
- Enter category name
- Choose the ‘Category type’
- Select ‘Save’
- Select contact category visibility ‘Public’ or ‘Internal’
To edit a custom category:
- ‘Communication Categories + templates’
- Select category
- Modify details
- Select ‘Save’
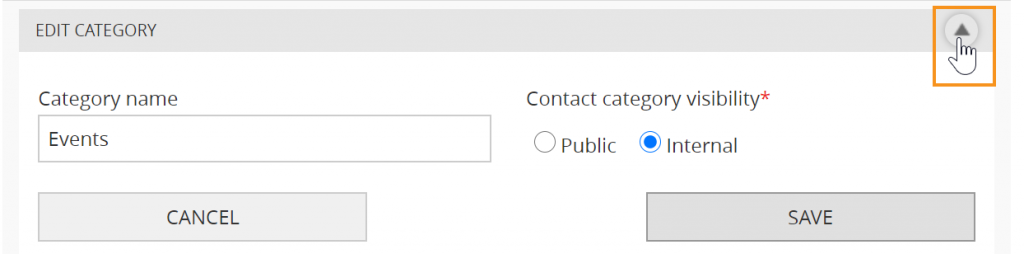
NB: Existing Categories created prior to 25th May 2018 will auto default to Internal. To update, select ‘Edit’ against each category and update the contact category visibility setting. Changing categories from ‘Internal’ to ‘Public’ will enable recipients to update their own current category selections.
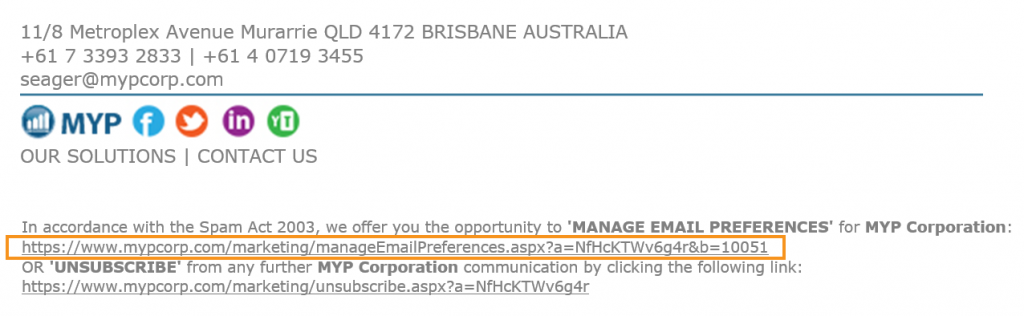
Recipients can update their own category selections:
- Select the ‘MANAGE EMAIL PREFERENCES’ link below email signature
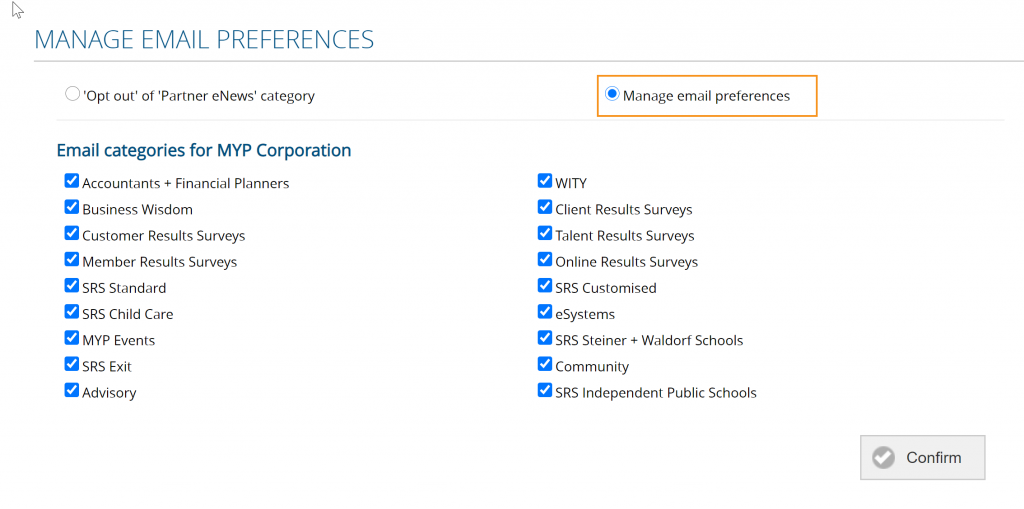
- Select ‘Manage email preferences’
- Select preferred options
- Select ‘Confirm’
NB: When creating a template that contains a link, ensure the link is ‘complete’, i.e. it includes the full ‘https://…” prefix to ensure clients can open the links correctly. Please note including multiple links, or images that exceed 50,000 bytes will prevent the email broadcast from sending.
Create communication content or template
To create email content or a template:
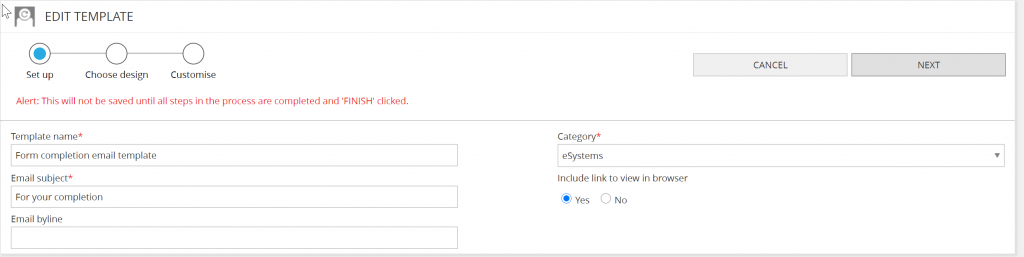
- Select ‘Create template’ icon or select ‘Create template’ from the myAssistant options
- Enter the template name
- Enter the ‘Email subject’
- Enter the ‘Email byline’
- Select ‘Next’
- Choose design from the eMarketing templates
- Select ‘Next’

- Use the drag-and-drop builder to make changes
- Select ‘Finish’
NB: A simple text template is available as a template choice to allow ease of creating from scratch templates or simple communication. Alternatively, to have blank template simply select next without choosing any template.
NB: If no byline is included, the wording from your email template is used by default. If the byline message is too short, gmail will add the beginning of the email to the byline.
Use drag-and-drop builder
The functionality of the eMarketing builder is consistent with the formSPACE module. Regular saving is strongly recommended. There are three sections to creating a template:
- Add sections
- Add items
- Style content
Add sections
To add a section to a template:
- Select the relevant style using drag-and-drop action to create
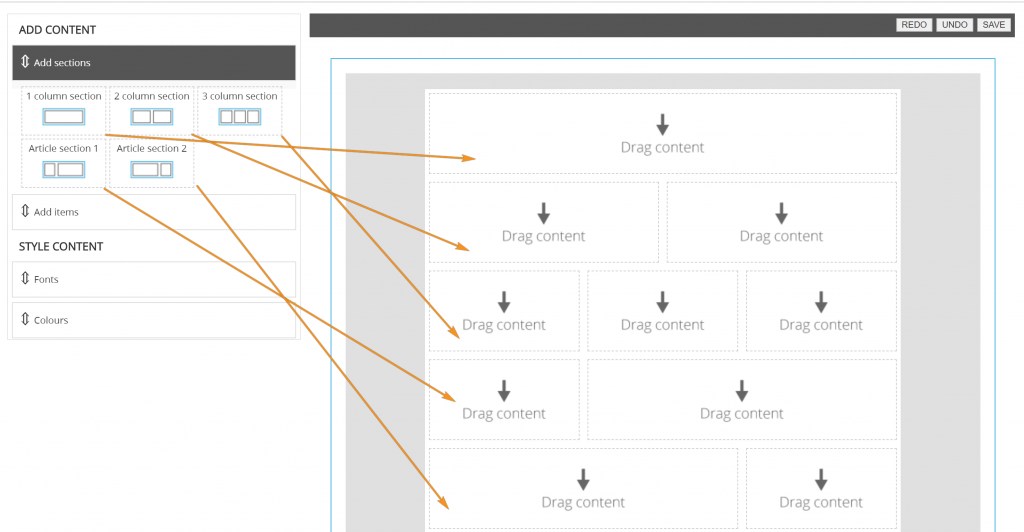
Add items
To add items to a section in a template:
- Select the relevant item using drag-and-drop action onto the relevant section.
- Select the item on the page to open the builder.
The following table and screenshots provide details of the functionality of each item:
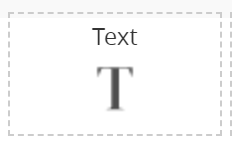 |
Text – WYSIWYG editor |
Padding – top, bottom. left and right |
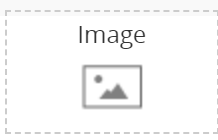 |
Image – file upload |
File upload
Browse server
Link URL
Align
Padding – top, bottom. left and right |
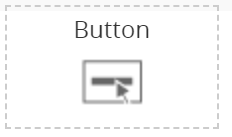 |
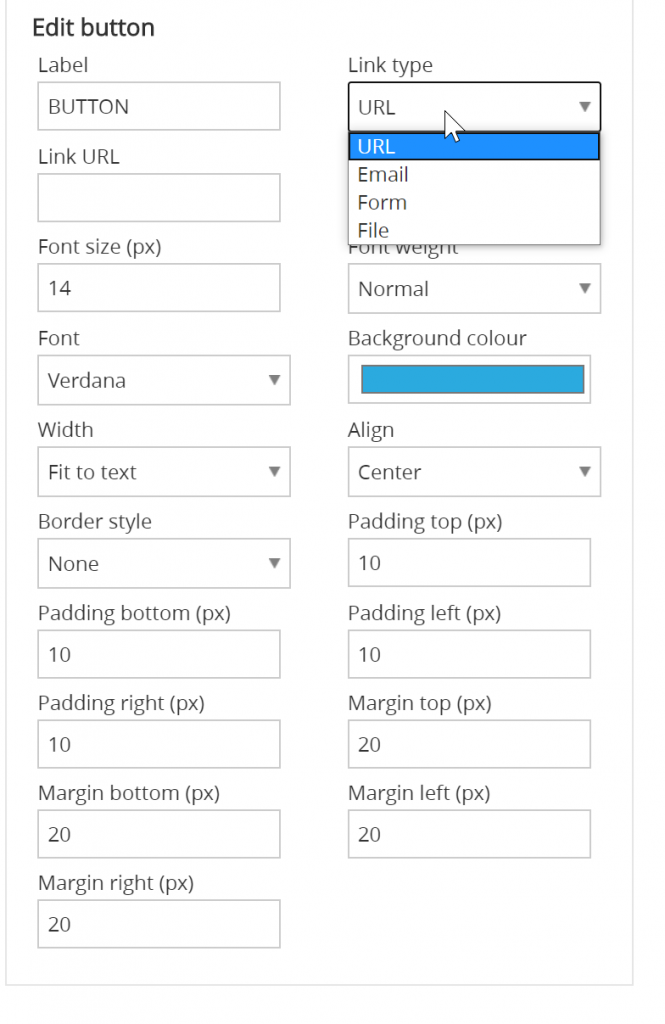
Button |
Label
Link URL
Font colour
Font size
Font weight
Font
Background colour
Width
Align
Padding – top, bottom. left and right
Border style
Border width
Border colour |
NB: Images will resize automatically to fit template section. Images will size down but will not size up. i.e. an 800px image will resize to 600px but a 450px image will stay at 450px. Images to be included in the forms or reports must be added at the correct size.
Style content
Content can be styled through the WYSIWYG editor or holistically thorough the style content area.
To change font style:
- Select the relevant font from the drop-down menu
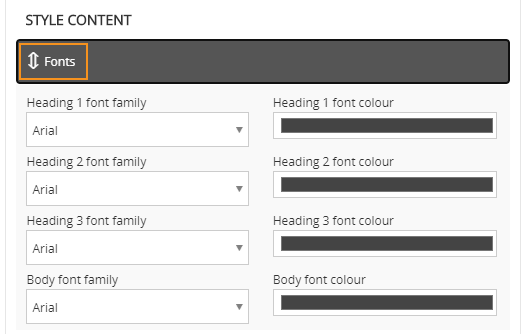
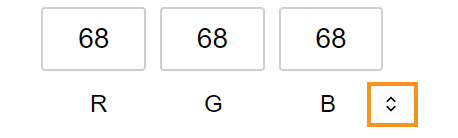
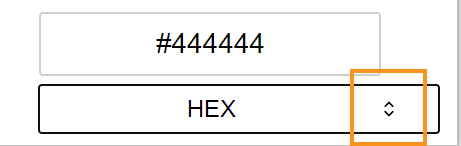
To change font colour:
- Select into the font colour field
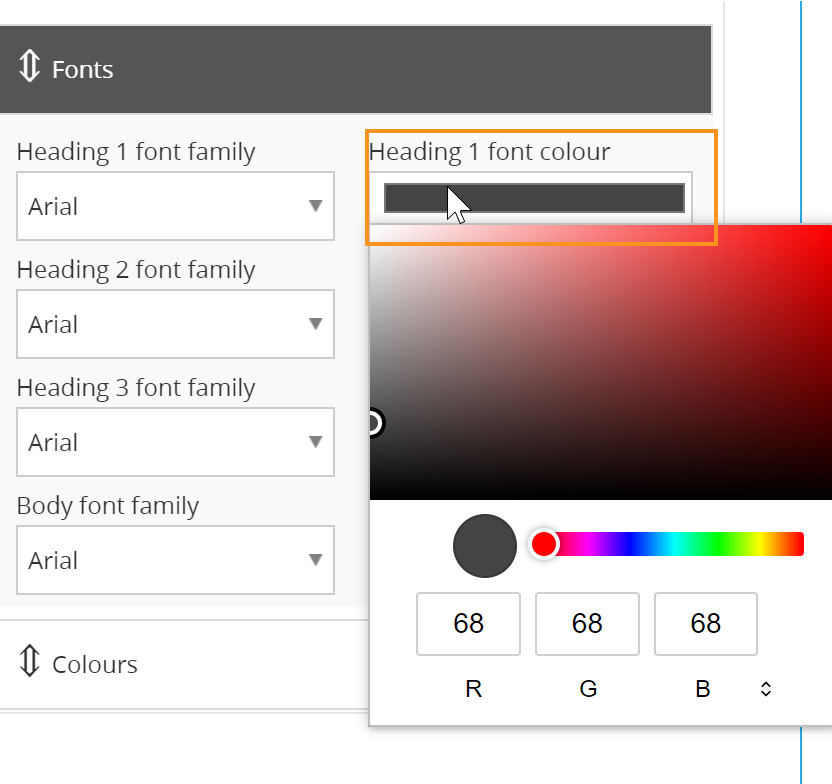
- Drag the white cursor OR move the arrows to toggle through colour options

To change background links and button colours:
- Select the relevant field and follow the same instructions for changing font colours.
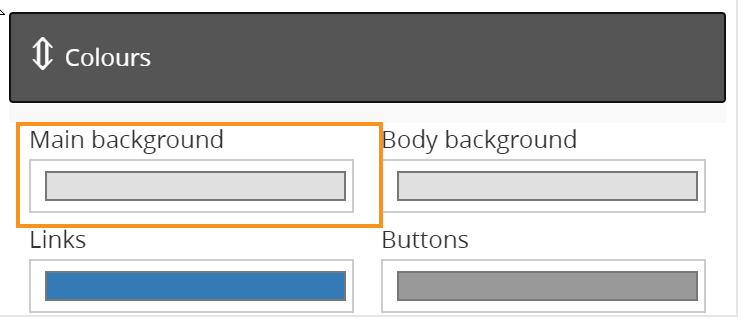
To change background colour of a section:
- Select the relevant section and follow the same instructions for changing font colours.
NB: IE users will have to click ‘Refresh’ to see the updates in the form builder.
To add in a ‘view in browser’ tag into campaign templates select the appropriate tag from the editor.
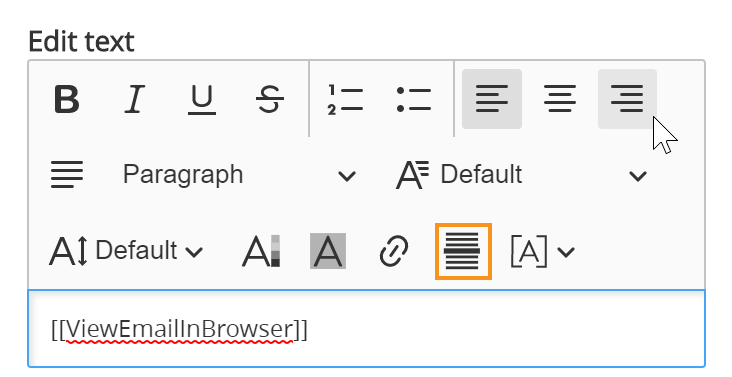
This will generate a ‘Having trouble viewing in browser? Click here’ link which will open up the email campaign in the user’s browser.
Add links to images + buttons
- Select edit button or edit image
- Select link type
To add an email link:
- Select the ‘Email’ link type
- Add email address
- Add email subject
To add a URL:
- Select the ‘URL’ link type
- Add URL link
To add a form:
- Select the ‘Form’ link type
- Select survey
- Enter reminder option
- Enter reminder end date
NB: Subscription to formSPACE is required for this option.
To add a file:
- Select the ‘File’ link type
- Upload file
NB: For display purposes across the variety of email clients, it is strongly recommended that dot points are left aligned.
Administer existing communication templates
To administer existing templates:
- Identify the relevant category
- Identify the relevant email template and select the appropriate action:
- View
- Quick send email
- Copy
- Edit
- Archive
View existing template
- Select ‘View’
- View template
- Select ‘Finish’
Copy existing template
- Select ‘Copy’
- Re-name template and email subject
- Select the ‘Category’ from the drop-down menu
- Make required changes to new template
- Select ‘Finish’
Edit existing template
- Select ‘Edit’
- Make required edits
- Select ‘Save’ or ‘Finish’
Archive existing template
Quick send email
- Search contacts
- Select ‘Send to self’ or ‘Send to contact‘
- Select ‘Send’
NB: This email will not be tracked and therefore a report will not be available.
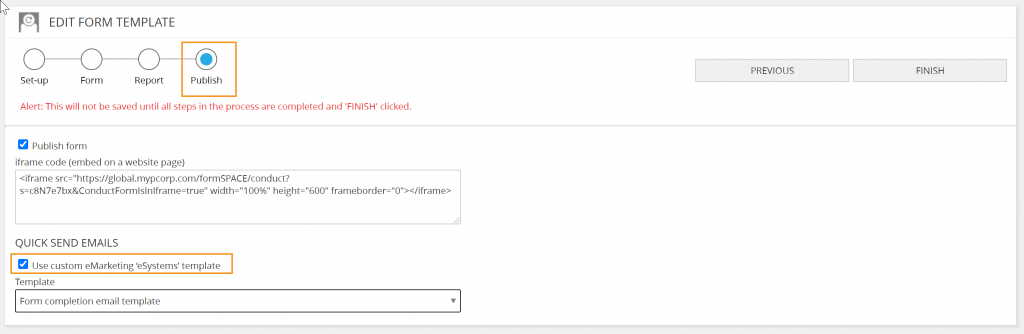
Administer formSPACE communication templates
To administer a customised template for formSPACE:
- Select ‘Create a template’
- Choose eSystems as the category
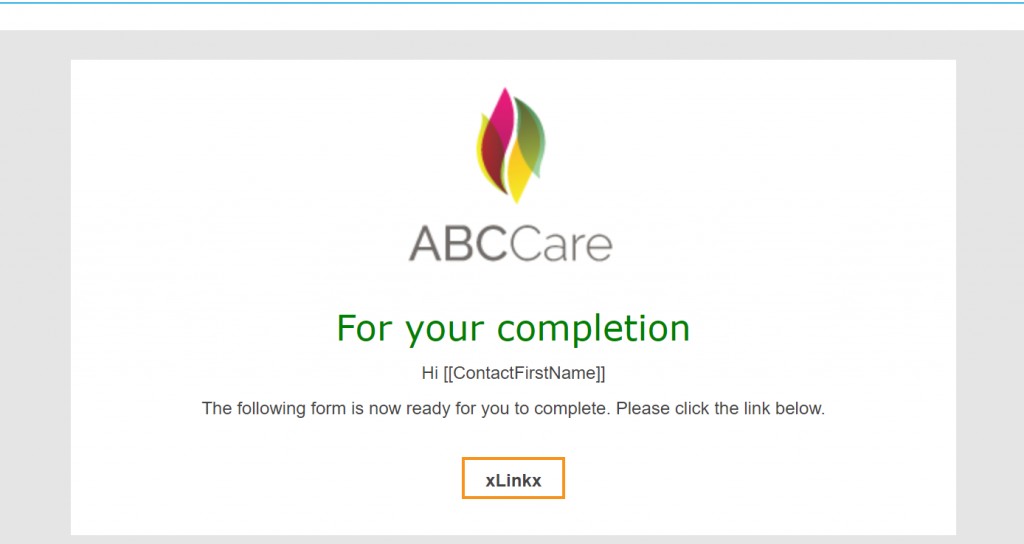
- Ensure you add in the xLinkX tag
- Select ‘Save’
NB: This will now be available in a formSPACE under the publish section of a template for use as a quick send option for a form.