If you are a service provider, the following workflow is recommended when invoicing to the NDIA:
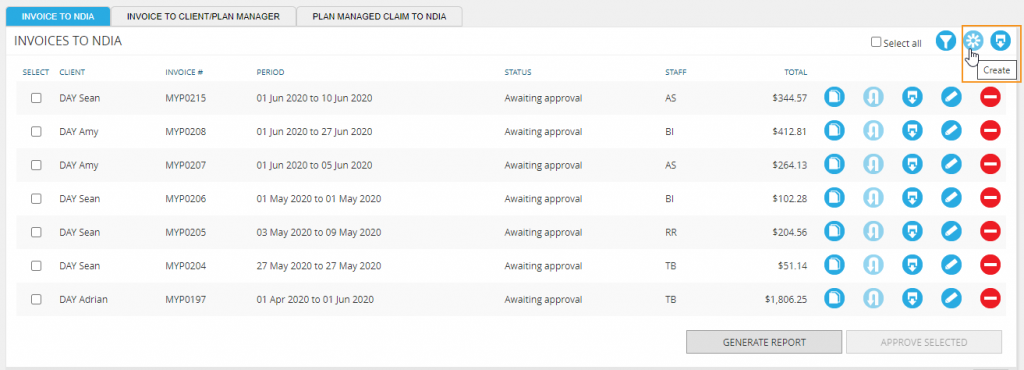
- Create your invoice via the ‘Invoice to NDIA’ panel
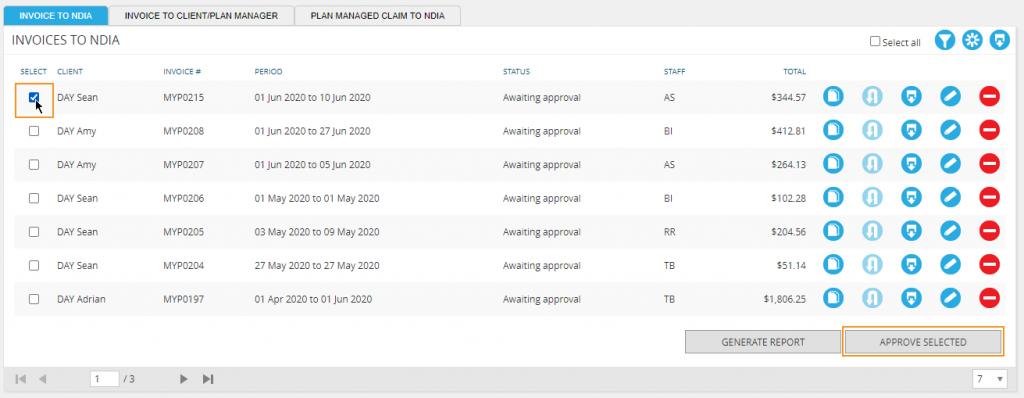
- Approve your provider invoice
NB: If you have enabled client approval of provider invoices via GENIUS > Settings, it will default to awaiting client approval. This can still be approved by you as the plan manager on their behalf.
- Generate your bulk upload report for any approved invoices and upload this to the NDIA
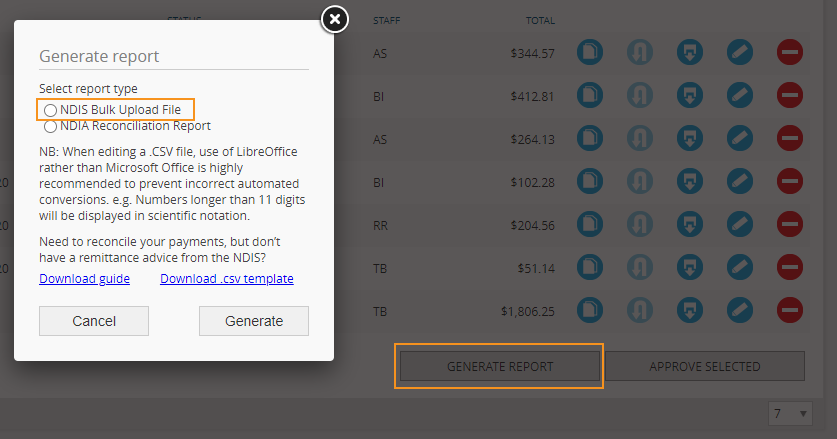
NB: DO NOT change the name of this file as it is used for reconciling your claims.
- Download the remittance advice file in CSV format from NDIA
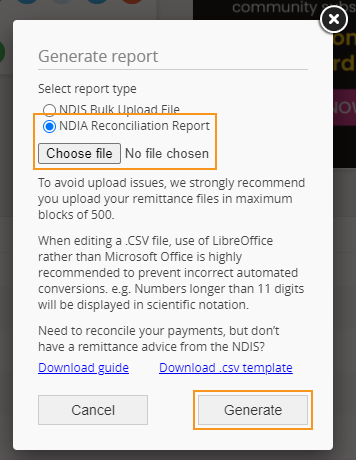
- Select ‘NDIA Reconciliation Report’
- Upload the remittance advice to GENIUS to reconcile your claims
- Once completed, you can sync any reconciled claims to XERO or MYOB.
NB: When the invoices are reconciled in GENIUS, they will still sync across as open unpaid invoices in MYOB for you to process as you would normally process your invoices.
NB: If a claim has been reconciled with a gap, it will show in your Reconciliation Results Report and be available via ‘NDIA claimed + gap’. This allows you to re-submit your claim for the gap amount. This can also be synced to XERO or MYOB. Download the Claim Input Data File for accounting software other than XERO or MYOB.
- Invoices to NDIA and plan managed claims that have a ‘NDIA claimed + gap’ status can be manually set to ‘NDIA reconciled’. Select the gap invoice/claims to be reconciled and click the ‘Reconcile Selected’ button.
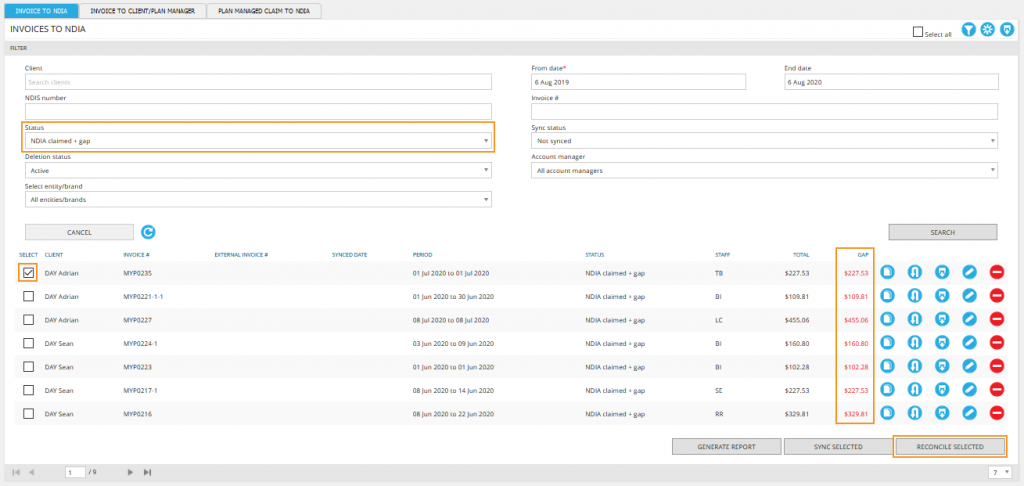
NB: When the ‘Status’ filter is set to ‘NDIA claimed + gap’. If an invoice is partially paid, the gap amount will display in black. However, if the invoice was not paid at all, the gap amount will display in red.
If you are a service provider, the following workflow is recommended when invoicing to a self managed client, plan manager or other provider:
- Select ‘Invoice to Client/Other/Plan manager’
- Select ‘Create invoice’ and complete the invoice details

Your invoice will stay in awaiting approval. To issue the invoice:
- Select the invoice then click ‘Approve selected’

- Select the ‘Filter’ icon and choose ‘Approved’ in the invoice status dropdown then click ‘Search’

The approved invoice can now be sent. To send the invoice:
- Select the invoice then click ‘Send selected’. The invoice will be sent to the party nominated to manage their budget (e.g. plan manager for a plan managed service booking)
NB: If the client is normally plan managed but you wish to send the invoice directly to the client, click the email icon to send the invoice to a different recipient.
The invoice will move to the ‘Sent’ status where it can be reconciled. To reconcile your invoice:
- Change the filter status to ‘Sent’
- Select the invoice
- Click ‘Reconcile selected’

The invoice will now be reconciled in full. If the invoice was only partially paid:
- Select ‘Edit’
- Enter the amount paid