The ARM Pro module provides an efficient means to invoice clients at the point of sale with the ability to push the invoice to the accounting system (MYOB AR, MYOB Essentials and Xero only). Community subscribers will use the engine of the invoice system from ARM but the key invoicing process will happen via GENIUS. Advisory clients will use ARM for invoicing.
Manage client invoices
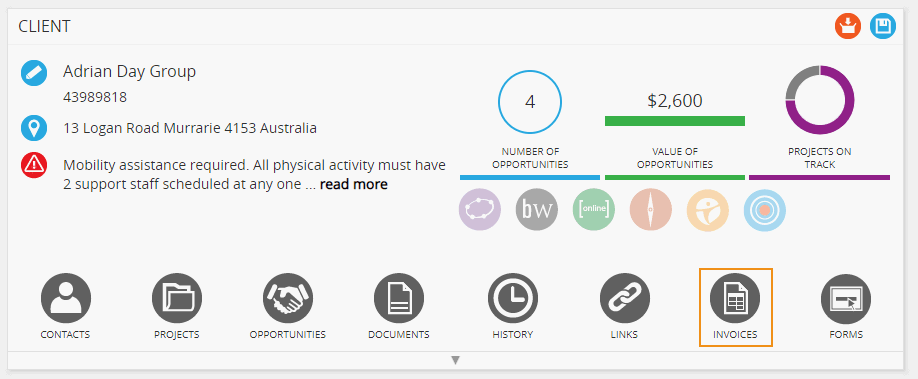
- Select the relevant client via search
- Select ‘Invoices’
NB: The Invoice tab is only visible to staff with ‘Manage invoices’ permission (refer to ‘Recommended permissions‘).
Manage client templates
- To create a customised invoice template for the client using a global template (refer to ‘Customise invoice templates‘), select ‘Manage templates’. This allows the user to create a customised template for the client without modifying the global template.
- Complete the relevant details adding products from any price book as required
- Add Delivery cost if applicable + select ‘Save’
- This template will only appear within this client business
Create invoices
- Select ‘Create invoice’
- Select an invoice template (either global or client) from the drop-down box.
- Select the MYOB or Xero API account from the drop-down list to push the invoice to MYOB or Xero (NB: This will only appear if a MYOB or Xero account has been set under ‘Administer API Settings’)
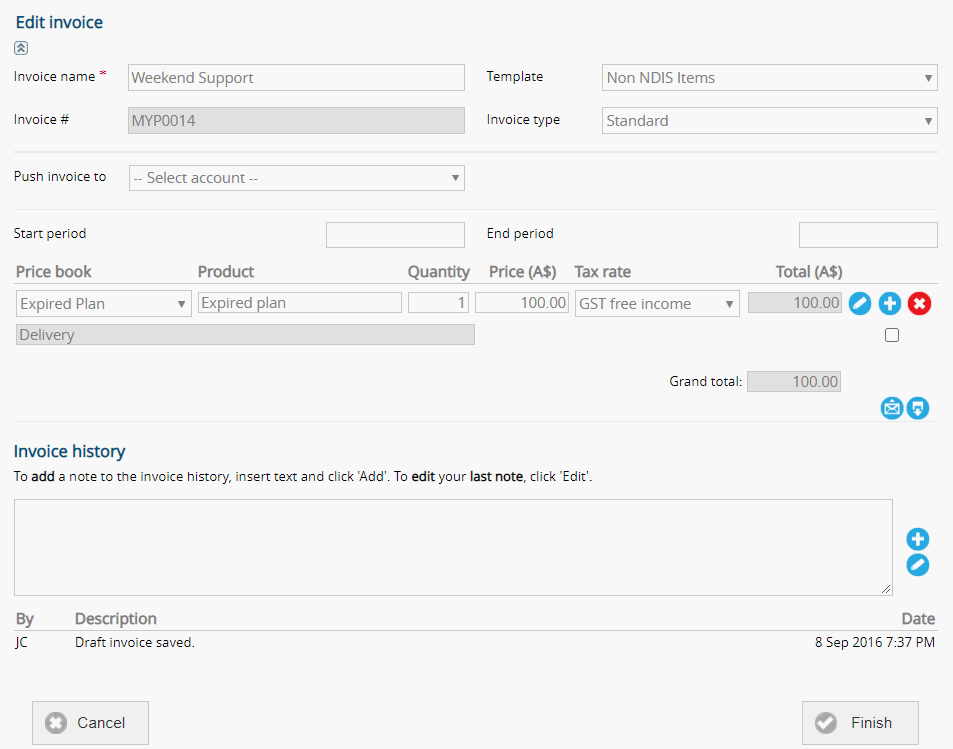
- More products can be added/deleted without modifying the global/client templates by clicking the Add/Delete buttons
- Any product can be selected from any price book by beginning to enter the product name
- No products will appear unless a price book has been chosen. If a product name is incorrectly entered, a no product warning will appear.
- Check the box to include Delivery cost (optional) with appropriate tax rate
- Select ‘Save as draft’ to save the form for editing, printing or copying
- Once saved as a draft, the ‘PDF’ button appears + the draft can be downloaded to PDF
- To invoice the client, select ‘Send invoice’
- Choose the client contact from the drop-down box. Click ‘Yes’ if the invoice is recurring; this will open an additional section to add recurrence details
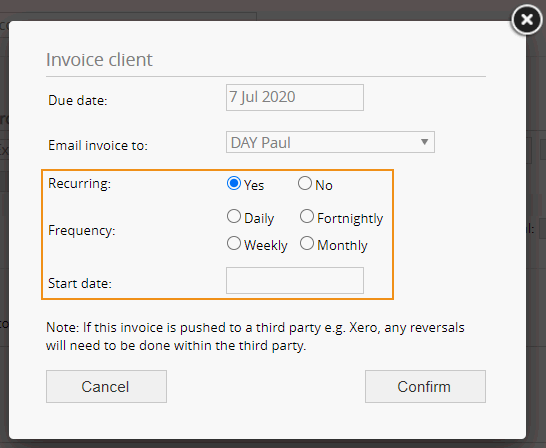
- Select ‘Invoice’. Once the invoice has been sent, the ‘Invoice client’ button changes to ‘Resend invoice’
- Once the invoice has been pushed, the invoice number will be updated with the invoice number allocated by Xero
The code to push invoice or billing for Xero is found in under the Chart of Accounts.
Edit, copy + archive invoices
- Identify the relevant client via search
- Select ‘Invoice’
- Choose ‘Copy’, ‘Edit’ or ‘Archive’
NB: Only draft invoices can be edited in full. Editing a sent invoice is limited to downloading to PDF, adding a note or resending the invoice to the client.
NB: A recurring invoice can be cancelled if the ‘Start date’ is set to a future date and the invoice has not yet been sent.
Resend invoices
- Select the relevant invoice
- Select ‘Edit’
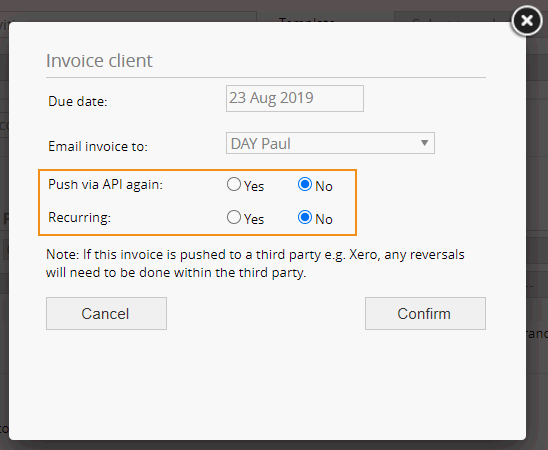
- Click ‘Resend invoice’
- In the ‘Invoice client’ pop-up box, confirm if the invoice is to be pushed to Xero again. This check is to prevent duplicate invoices being created in Xero. If ‘Yes’ is selected, a new invoice will be created in Xero + the new invoice number from Xero will update the invoice number in ARM
- Selecting ‘No’ will only resend the invoice via email to the contact selected in ‘Email invoice to’
Create invoices from opportunities
Invoices can also be created from within an opportunity. To create invoices from sale items added to an opportunity:
- Select the relevant client via search
- Select ‘Opportunity’
- Navigate to the relevant opportunity
- Select ‘Edit opportunity’
- Scroll to ‘Administer sale items’
- Select ‘Create sale item’
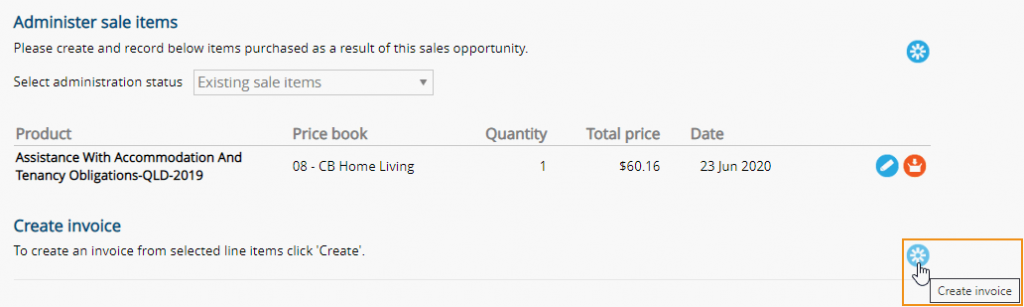
- This takes the user to a new invoice which can be edited as per above.
NB: This invoice is not linked in any way to the opportunity or sale items.