Administer PocketWatch Settings
The first step to the HCP roster workflow, is to first make sure the settings in PocketWatch are set up correctly.
Information on how this can be found here: https://myphelp.mypcorp.com/art/pocketwatch-settings/
Check out this video on some tips for administering settings specific!
Create HCP Roster Template
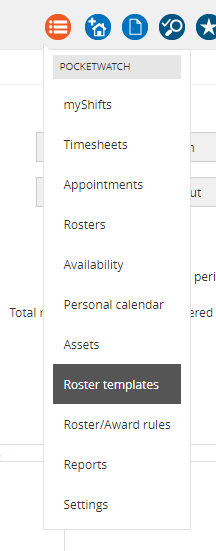
- Navigate to PocketWatch menu (orange icon) and click ‘Roster Template’.
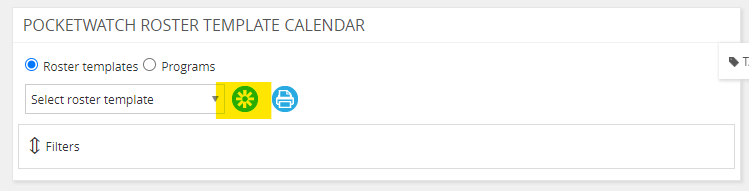
- Click on ‘create’ icon to create a new roster template for HCP.
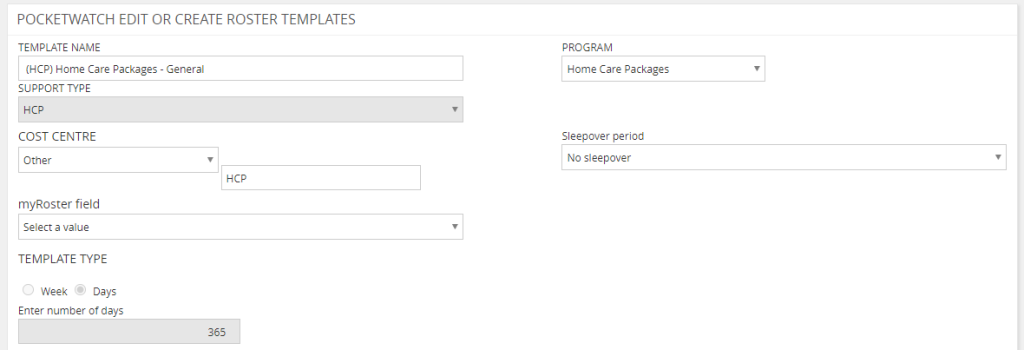
- Once the template opens, enter a template name.
- Allocate the ‘support type’ as HCP.
- Set ‘cost centre’ – note if there is no pre-determined ‘cost centre’ set to ‘other’ and title it “HCP”.
- Set ‘sleepover period’ if any.
- Set ‘myRoster field’ if any.
- Set ‘template type’ to week or days and enter relevant period. This will be how long the roster will be rolling.
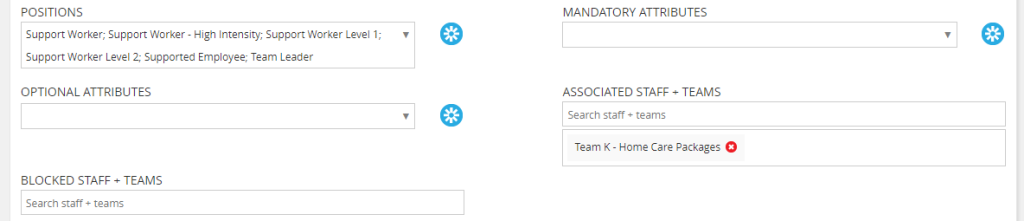
- Set relevant staff ‘positions’ that will be allocated to HCP shifts.
- Set ‘mandatory attributes’ and ‘optional attributes’ (if any optional). These will be requirements you need staff to have to be eligible for HCP shifts. Attributes can be set up in PocketWatch settings or directly in the template.
- Set ‘associated staff + teams’. It is recommended here to create a dedicated team for Home Care and set as the associated team.
- Set any ‘blocked staff + teams’ if any.
- Enter a default shift address.
- Click ‘Save & Close’ to finish creation of roster template.
Edit HCP Roster Template
- Select PocketWatch > Roster templates
- Select roster template from the drop-down
- Select ‘Edit’
- Make appropriate edits
- Select ‘Save’ or ‘Save + Close’
NB: A staff member does not need to be linked to a roster to be assigned to a shift. However, a staff member must be attached to view open shifts in the roster or to view the roster.
Create HCP Shift Templates
To create a shift template:
- Select the template from the drop-down
- Expand the relevant week
- Select the day the shift is to occur on
- Add the shift details into the pop-up
- Select ‘Save’ or select the deep-edit button to edit further details
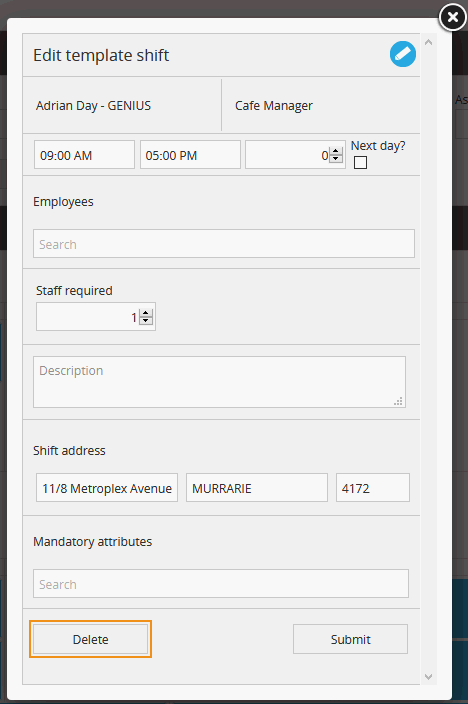
From the deep-edit, the following additional settings are available:
- Select a different day of the week for the shift to occur
- Select ‘Shift pay rate’
- Select ‘Shift sleepover period’
- Enter in shift break time
- Select whether there is time limited check in/out
- Select whether ‘Standard’ or ‘Split’ shift
- Select ‘Shift recurrence’, if applicable
- Select ‘Cost centre’ (inherited from the roster template)
- Search contacts to add to the shift
- Enter in description for the shift
- Select any applicable tags from the drop-down
- Select any mandatory attributes from the drop-down
- Select any optional attributes from the drop-down
- Select ‘Shift tasks’
- Select tasks from drop-down
- Select ‘Add’ icon
- Mark any tasks as required, if applicable
- Required tasks must be completed in a shift, if not completed, a reason must be provided
- Select ‘Save’
- Select any applicable assets
- Enter number of required staff
- Search staff to add to shift
- Enter shift address details
- Enable geolocation tracking
- Select ‘SAVE’
Copy Shifts in Template
There are three options to copy shifts within a template.
NB: This must be a multi-week roster.
To copy the whole week of shifts:
- Select the template
- Expand the week arrow
- Select the ‘Copy all shifts’ button
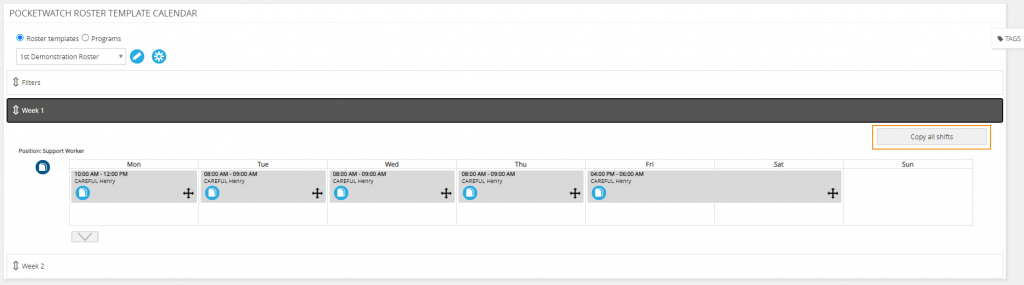
- Select the appropriate weeks
- Select ‘Submit’
To copy the whole week of shifts for a specific position:
- Select the template
- Select the icon under the position
- Select the appropriate weeks
- Select ‘Submit’
To copy a single shift:
- Select the template
- Select the copy icon in the shift
- Drag to the appropriate day
- Select ‘Submit’
Delete Shifts in Template
To delete a shift in a roster template:
- Select the template
- Select the shift
- Select ‘Delete’
Delete Roster Template
- Select PocketWatch > Roster templates
- Select relevant roster template from the drop-down menu
- Select ‘Delete roster template’
- Select ‘Confirm’
Filter Roster Templates

- Select PocketWatch > Roster templates
- Select the relevant filters from the drop-down menus
- Client
- Staff
- Team
- Location
- Assets
- Position
- Select ‘Search’
- To reset filter parameters select ‘Reset filters’
- To view by staff select ‘View by staff’
To see how to create a roster & shift – please review the following article: https://myphelp.mypcorp.com/art/administer-hcp-rosters-shifts/