The Incident Management System (IMS) is an add-on service option for organisations that are subscribers to formSPACE Pro. The IMS provides a more sophisticated incident management solution that incorporates all steps in the process including relevant notifications, workflow actions and reporting.
Enable IMS
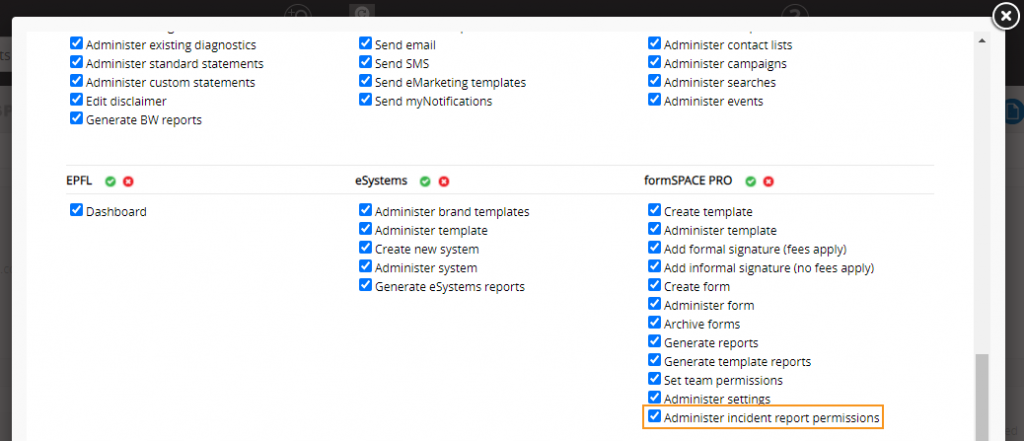
To enable IMS, enable the ‘Administer Settings’ formSPACE Pro permission:
insert image
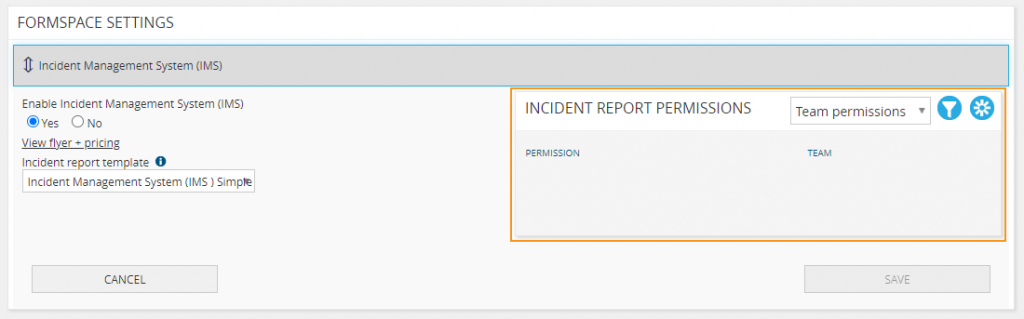
- Navigate to formSPACE Pro > Settings via the side navigation menu
- Expand the ‘Incident Management System (IMS)’ tab
- Select ‘Yes’ to ‘Enable Incident Management System (IMS)’
- Select ‘SAVE’
Once IMS is enabled, you will now have access to the ‘Incident Management System’ sub-menu under formSPACE Pro in the side navigation menu.
Create incident report
To create a new incident report:
- Navigate to formSPACE Pro > Incident Management System via the side navigation menu
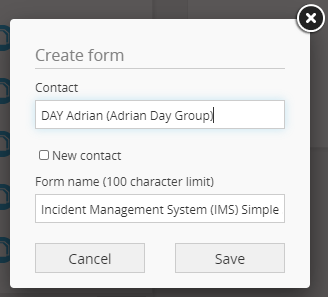
- Click ‘Create incident report form’
- Select ‘Client/Program’ or ‘Contact’
- Search for a Client/Program or Contact
- Provide the incident report with a form name
- Select ‘SAVE’
Submit incident report for review
To submit an incident report for review:
- Navigate to formSPACE Pro > Incident Management System via the side navigation menu
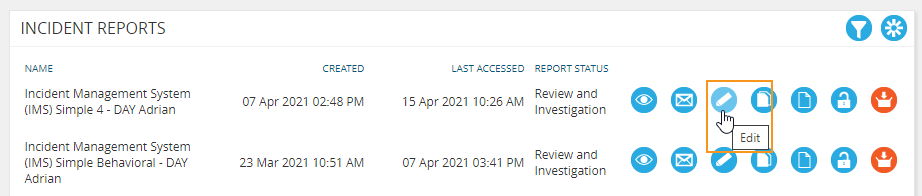
- Find the relevant incident report under the INCIDENT REPORTS panel
- Select the ‘Edit’ button

- Fill out the relevant fields on the incident report
- To submit the report for incident review, click on the ‘Progress report to review’ button

The Incident Report will have a status of ‘Incident review’ and a notification email (if it has been added to the template) will be sent to the relevant party.
Review incident report
To review an incident report:
- Navigate to formSPACE Pro > Incident Management System via the side navigation menu
- Find the relevant incident report under the INCIDENT REPORTS panel
- Select the ‘Edit’ button
- You will be able to view/edit the incident report details
- Select ‘SAVE + NEXT’ to progress to the ‘Incident Investigation’ section and complete the relevant information
- Click ‘Close report’ to complete your investigation and close the incident report
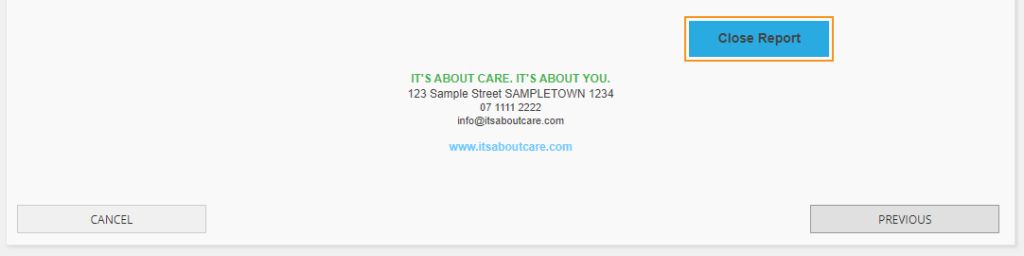
- The incident report will have a status of ‘Incident closed’ and a notification email (if it has been added to the template) will be sent to the relevant party
Set up incident report permissions
To allocate permissions for the incident reports:
- Navigate to ARM Pro and edit the relevant staff member in the STAFF panel
- Select the ‘Contact options’ menu
- Select ‘Edit login details, teams + permissions’
- Scroll down to the formSPACE Pro permissions and enable ‘Administer incident report permissions’
- Navigate to formSPACE Pro > Settings via the side navigation menu
- Expand the ‘Incident Management System (IMS)’ tab
- There will be a new ‘Incident report permissions’ table
- Permissions can be set up for entire teams and/or individual staff to access IMS forms with a specific status
NB: There is a hierarchy to the permissions. If a team or staff member who has permission for the highest level, they will also have access to all other permissions below it (e.g. giving access to ‘Incident closed’ will automatically grant access to ‘Incident review’ and ‘Incident investigation’. If no permissions are set up, all users will have access to all incident reports regardless of status.
Manage permissions for individual incident reports
Access to specific sections (pages) of the incident report can be enabled.
To manage permissions for this:
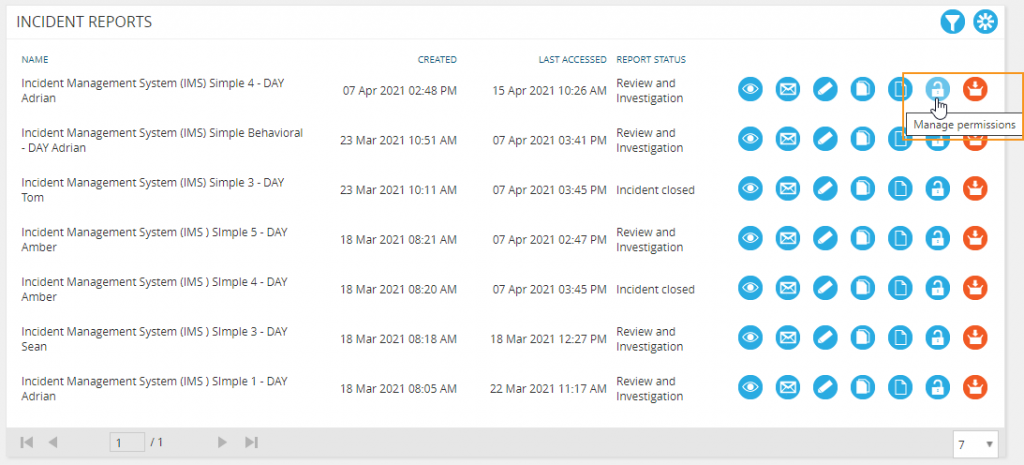
- Navigate to formSPACE Pro > Incident Management System via the side navigation menu
- Find the relevant incident report under the INCIDENT REPORTS panel
- Select the ‘Manage permissions’ button
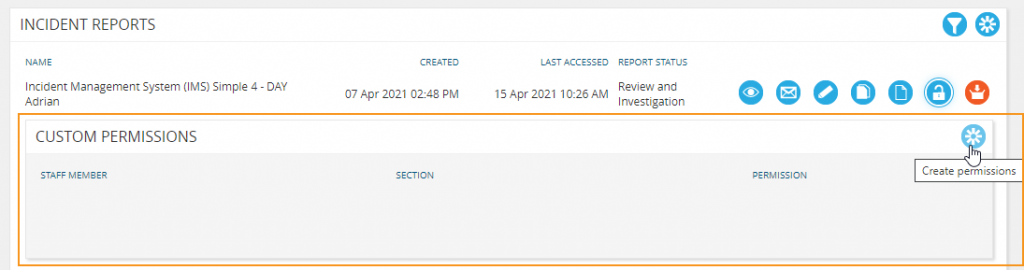
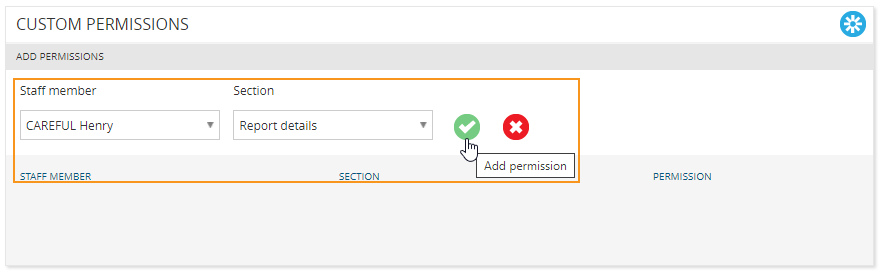
- The CUSTOM PERMISSIONS panel will appear under the incident report
- Select ‘Create permission’
- Select the relevant staff member and the Section they should have access to
Customise standard form
The following formSPACE templates are copied to formSPACE upon subscribing to IMS:
- Incident Management System (IMS) – Master
- Incident Management System (IMS) – Simple Master

These templates cannot be modified or archived.
To modify these templates:
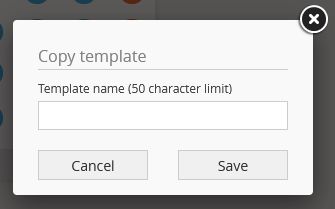
- Select the ‘Copy’ icon next to the template to be modified

- Enter in template name
- Select ‘Save’
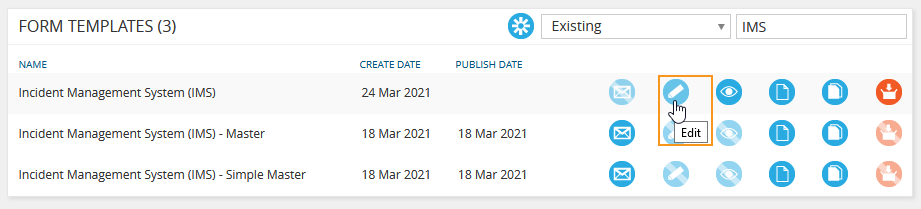
- Select the ‘Edit’ icon next to the copied template
Just like any formSPACE template, you are able to add/move/remove/modify fields on the template.
NB: Please read ‘Important rules for modifying template‘ before modifying the template.
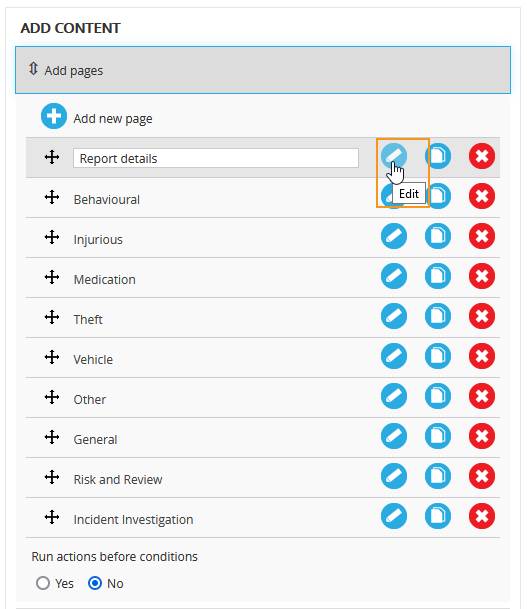
Change page/section names
To change page/section names:
- Expand the ‘Add pages’ tab
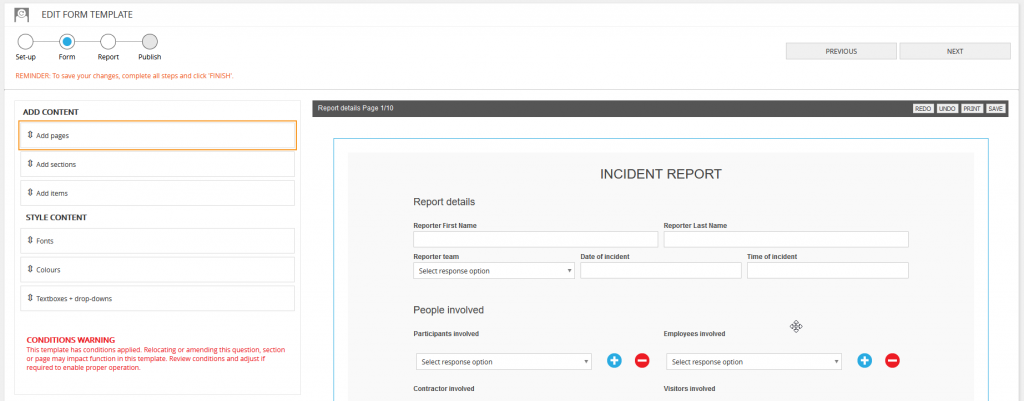
- Select the ‘Edit’ icon next to the desired page
- Type in the new page name
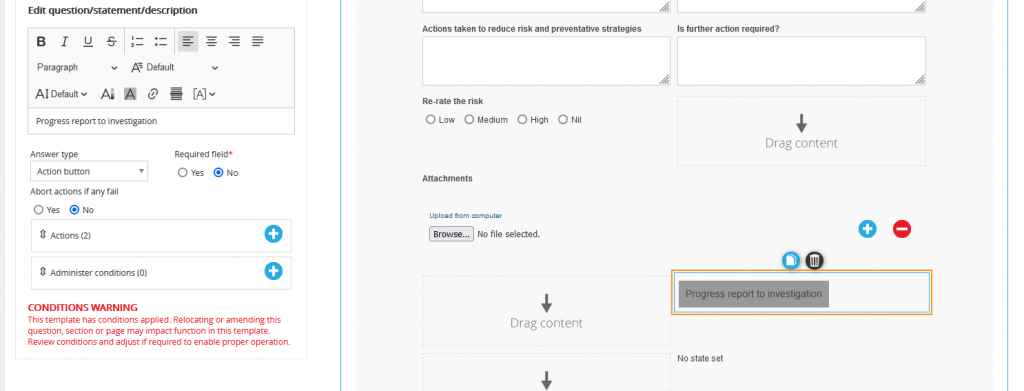
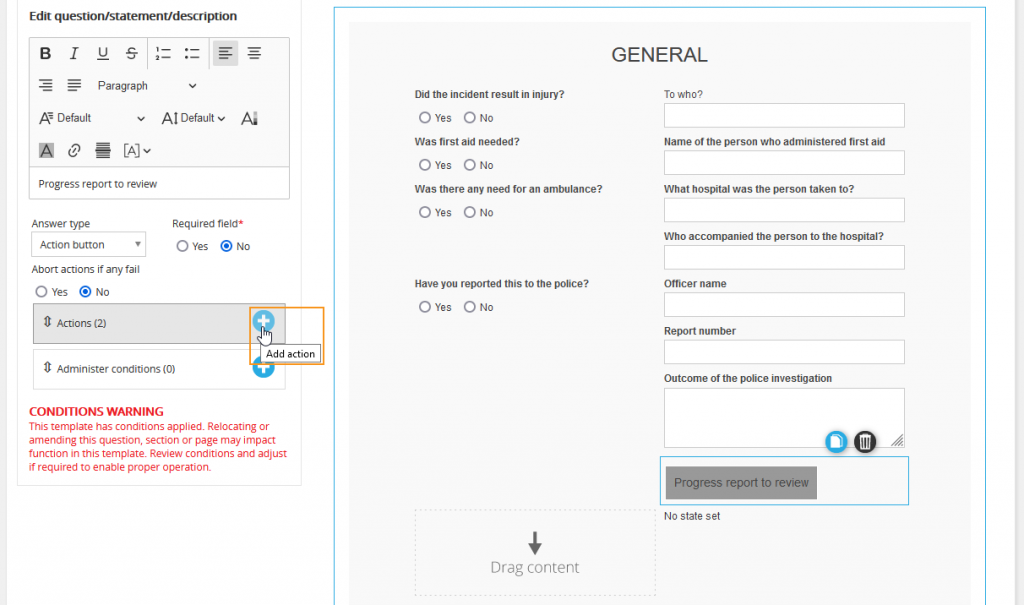
Add email actions to action buttons
Emails can be sent when an ‘Action button’ is triggered. Actions can be added to ALL action buttons.
To add email action:
- Select the action button
- Select the ‘Add action’ icon
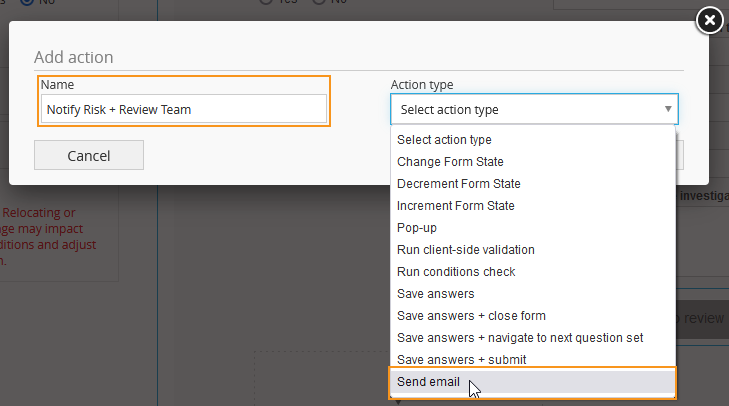
- Enter name for the action
- Select ‘Send email’ fro the ‘Action type’ drop-down
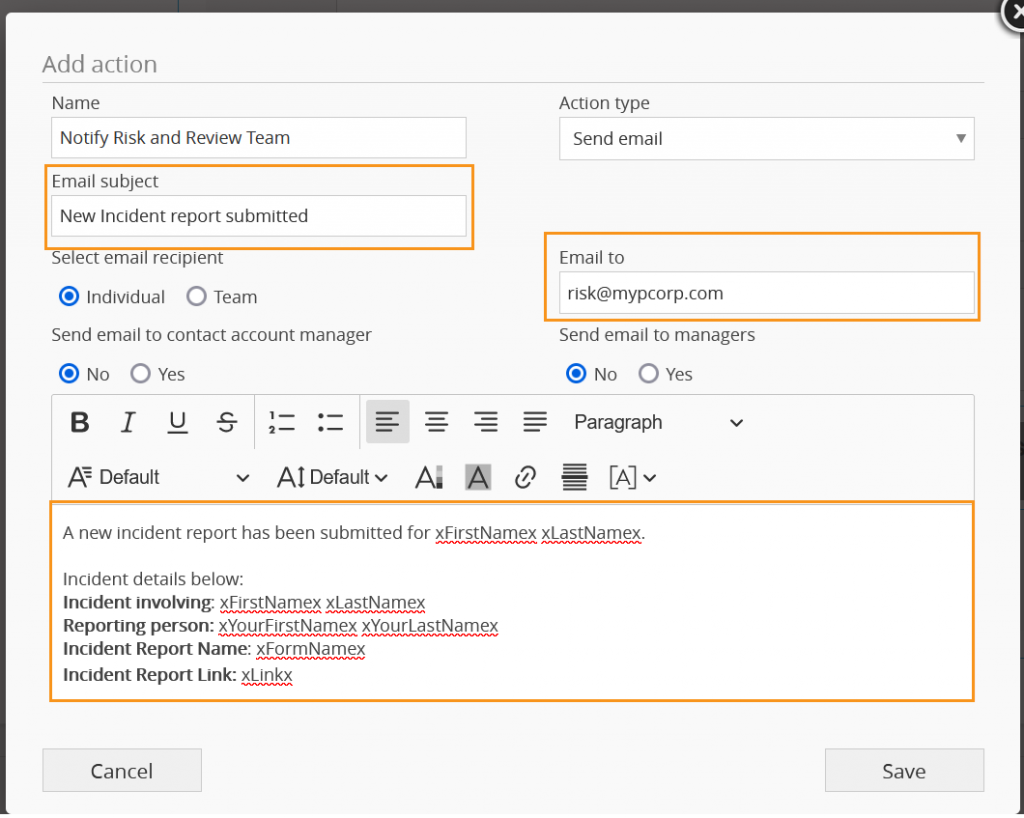
- Enter ‘Email subject’
- Select ‘Email recipient’
- Select whether to send email to contact account manager
- Select whether to send email to managers
- Enter/Select ‘Email to’ (this is the recipient email address)
- Enter in email content
Important rules for modifying template
- Do not remove the ‘Placeholder’ field at the end of each page
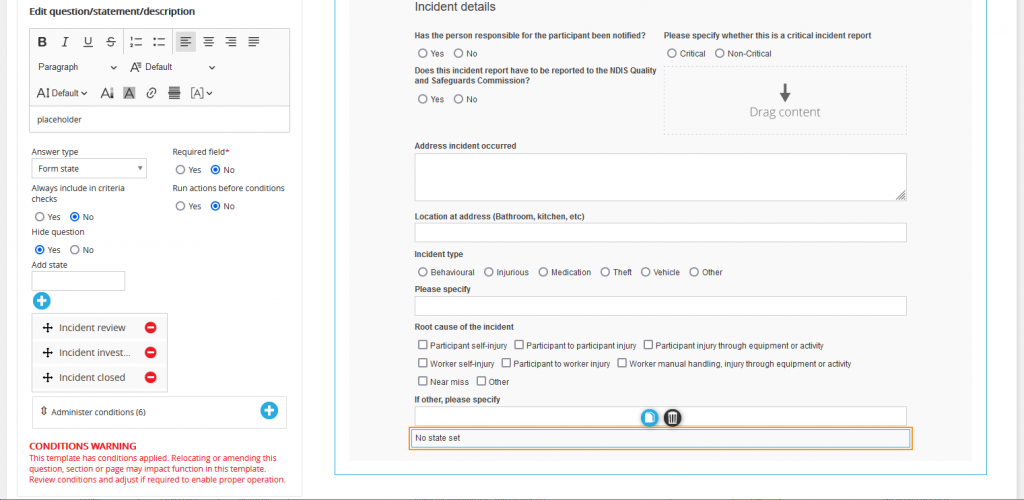
- Do not modify/remove the condition on the ‘Pleaseholder’ field at the end of each page
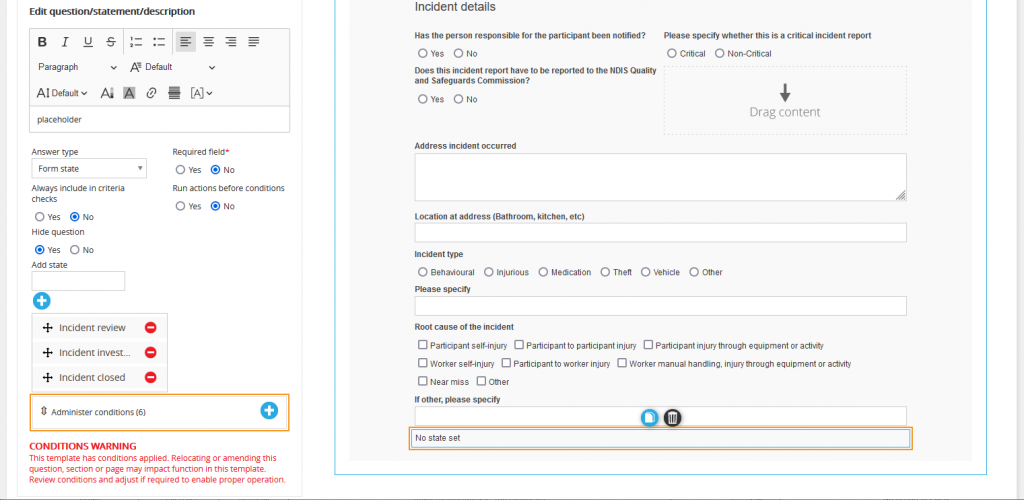
- Do not add fields AFTER the place holder fields at the end of each page

- Do not remove the Action button at the end of each page