Choose client type
There are two client types in ARM.
- Client (Organisation/Group)
- suitable for businesses/organisations
- suitable for advisory or community family groups
- Client (Individual)
- single clients not connected to a family group or business
NB: Community organisations should set their participants as a Client with a naming convention such as – Sean Day File, Sean Day Group or Sean Day Folder. This provides the ability to add in additional contacts to this client file. ie Mother, father.
Use of ‘Test’ client
Your subscription includes a ‘Test client for <Subscriber>’ and is easily located by adding the word TEST to the search bar. MYP encourages the use of the test client to become familiar with MYP tools and features. The test client is partitioned from the MYP industry database so any test data uploaded under the test client will not have a detrimental effect on the industry database. Part of the process for advisory clients only of creating a client within MYP is to link that client to the relevant industry for benchmarking purposes. It is for this reason that you must not create your own test clients as it will result in pollution of the industry database.
Create client
- Select ‘Create client’ from the sub-header menu
- Complete contact and client details
- Select ‘Save + close’
NB: The ‘Client/customer’ relationship can’t be paired with the ‘Supplier’ nor ‘Provider’ relationships to avoid sync issues in MYOB.
NB: The maximum length of a client (organisation/group) name (‘Client name’) is 255 characters.
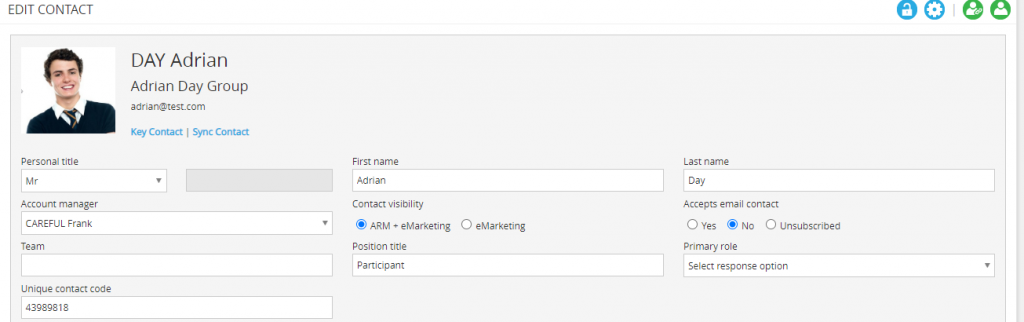
When creating a client, it is important to add a contact to the client. If required, the contact can be assigned to an account manager by selecting the relevant staff member from the ‘Account manager’ drop-down menu.
It is possible to create two email addresses for a contact. Once an email address is created, it is necessary to select at least one email address to receive automated system emails. To select the email address/es to receive these emails, click the relevant red email button/s (it will turn to green to indicate the selection).
Accepts email contact – for Subscribers using eMarketing, selecting the ‘No’ radio button excludes this contact from eMarketing broadcasts.
NB: If a client has unsubscribed to your marketing communication, they cannot be emailed via eMarketing. A client must have the ‘Accepts email contact’ field marked to yes in ARM to receive communication.
- Select your client in ARM
- Navigate to ‘Contacts’
- Identify the relevant contact
- Select ‘Edit’
- Choose ‘Yes’ for ‘Accepts email contact’
NB: If the client has unsubscribed from marketing via the unsubscribe link (included on each email) the ‘Unsubscribed’ radio button will be highlighted Birthday reminder emails for contacts and their partners can be automatically sent to account managers if the birth date is entered and the birthday reminder radio button is selected. The default notification is 2 business days prior to the birthday. (ARM Pro users have the ability to customise this feature and select their own notification period.) Reminders can also be sent to the account manager’s assistant if the setting is active (refer to ‘Customise settings‘).
Client contacts can be created without an email address, and two client contacts in the same client can share the same email address, e.g. when a husband and wife have one email address between them.
When updating a contact’s email, please note the following buttons:
 |
Select to convert the email address to the primary contact address (it will turn green) |
 |
Select to change the email address from a primary email (it will turn red) |
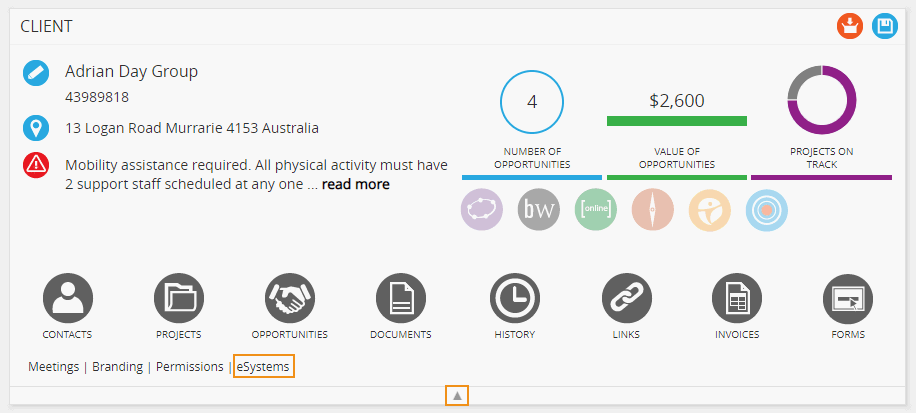
The unique code on the ‘Client’ and ‘Contacts’ pages provides the ability for each client and contact to be uniquely identified by the system. This code is linked to event registration in eMarketing so the organiser can offer discounts to existing contacts providing they enter their unique code at the point of registering for the event.
For the community sector, if you wish the NDIS number to display on the front screen it should be added to the unique code field. This field is displayed directly under the client name in the ARM client panel.
NB: There is a specific NDIS number field. Using the unique code field is for display purposes only.
Administer ‘Key contact’ for multi-contact client
- Identify the relevant client via search
- Select ‘Contacts’
- Click the ‘Key contact’ icon
- Select ‘Save’
Once the button is clicked, the icon will change from red to blue representing ‘Key contact’ icon.
Clicking ‘Key contact’ again will reset the icon back to red representing ‘Not key contact’.
NB: There can only be one key contact for a client. Clients may also have NO key contact. To re-assign the ‘Key contact’ from ‘A’ to ‘B’, check ‘B’ as a ‘Key contact’ and this will automatically set ‘A’ as ‘Not key contact’.
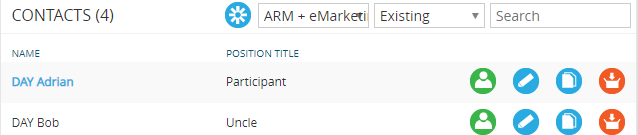
The key contact is defined in the client contact list in blue text.
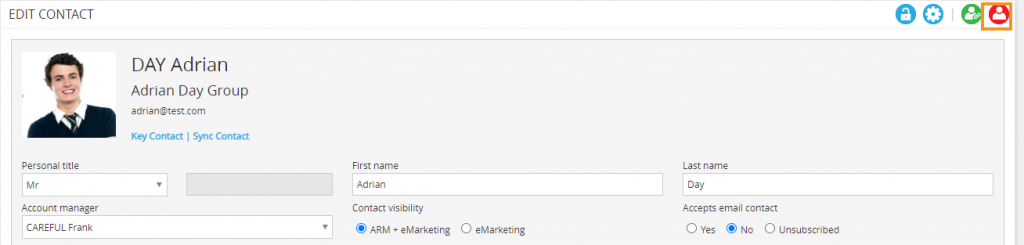
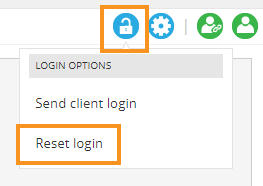
Reset client login
To reset a client password for login select the reset password icon:
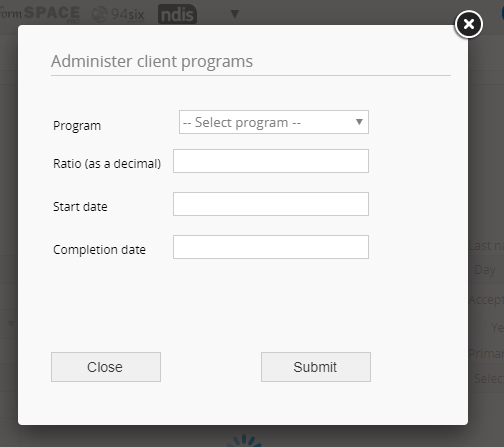
Administer client programs (Community sector only)
Programs are specifically related to the community sector.
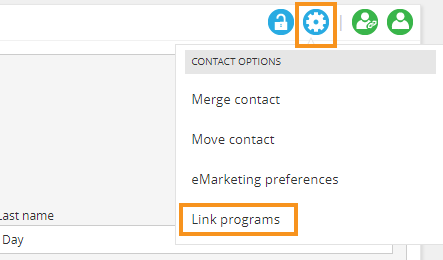
To link a contact to a program:
- Identify the relevant client via search
- Navigate to ‘Contacts’
- Identify the relevant contact + select ‘Edit’
- Select ‘Contact options’
- Select ‘Link programs’
- Enter data + select ‘Submit’
Enable client creation notifications (ARM Pro only)
This staff permission is available for ARM Pro users to enable automatic notification when a new client is created within MYP.
Update client
- Identify client via search
- Select ‘Edit’
- Review client information, modify and select ‘Save’
Archive client
- Identify the relevant client
- Select ‘Archive’
NB: Clients and contacts who are registered for a current or future event in eMarketing cannot be archived. Clients in GOMS will not be archived in GOMS when archived in ARM.
Unarchive client
- Select the ‘Advanced search’ icon in the header above the search text box
- Select ‘Archived’
- Search for the client in the search field
- Select the client result
- Select the ‘Unarchive’ icon on the client page
Your client is now unarchived.
Update client’s contact information
- Identify the relevant client via search
- Select ‘Contacts’
- Select ‘Create contact’ to create a new contact, add details + select ‘Save’
- To modify an existing contact select ‘Edit’, update details + select ‘Save’
NB: Subscribers to the eMarketing module have the ability to have contacts listed in eMarketing only, or in ARM and eMarketing, thereby avoiding the need to have 1000’s of marketing contacts listed in ARM. To assist with administration, eMarketing Subscribers have the ability to select the ‘Marketing status’ of a contact from a drop-down menu (only visible to eMarketing Subscribers).
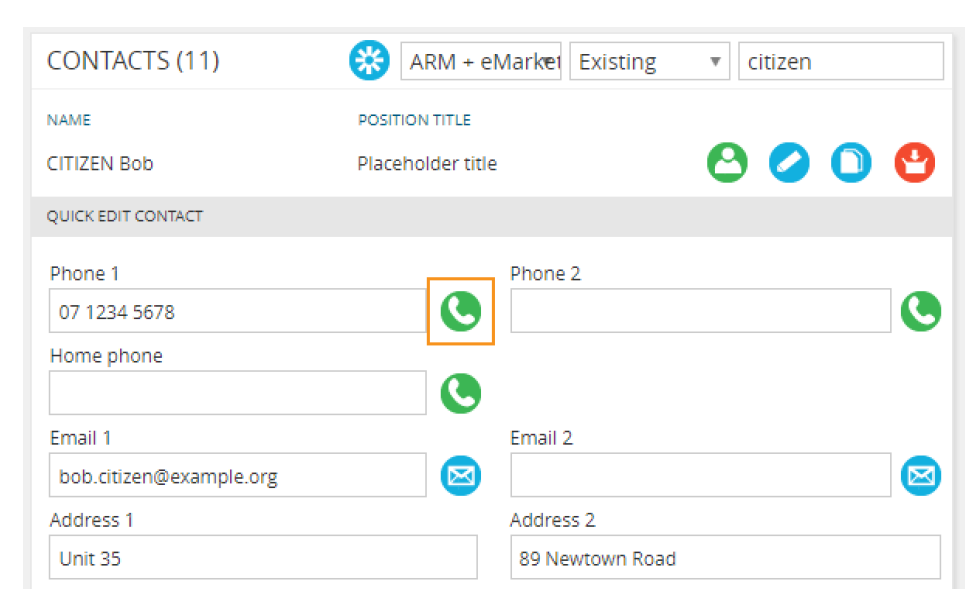
Quick edit contact
The quick edit has been designed for ease of use with a mobile and quick access to key information.
To make a call via mobile:
- Select ‘Quick edit’
- Select ‘Phone’ icon
To create an email via mobile:
- Select ‘Quick edit’
- Select ‘Email’ icon
To use talk-to-text functionality:
- Select ‘Quick edit’
- Select ‘Notes’
- Select microphone on phone and speak
NB: Talk to text must be enabled on your mobile device.
To make a call via computer:
- Select ‘Quick edit’
- Select ‘Phone’ icon
NB: Relevant VOIP software is required ( e.g. Skype, Aircall, 3CX etc).
View all clients
To view all clients ARM:
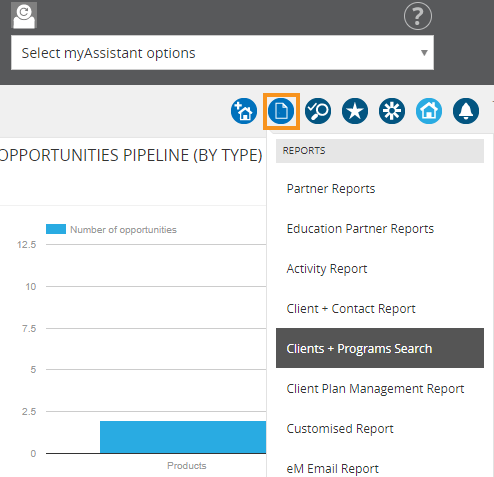
- Select ‘Reports’
- Select ‘Client + Contact Report’ or ‘Clients + Programs Search’ (Community)
- Select suitable filters
- Select ‘View’
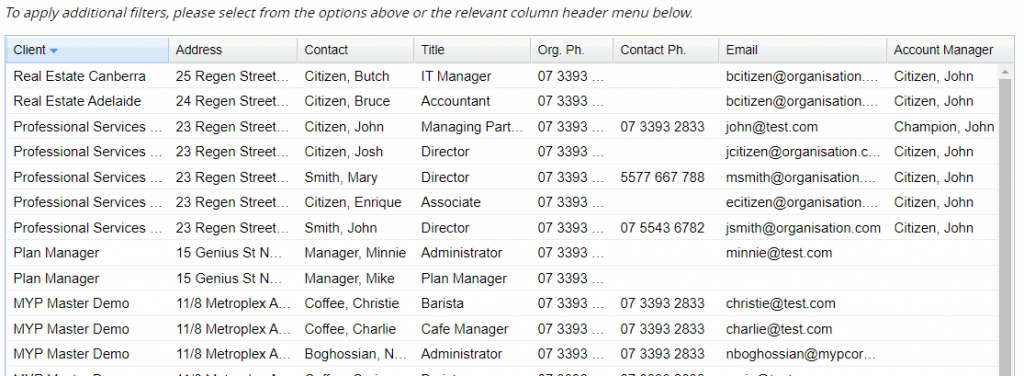
This is a dynamic list with hyperlinks to take you directly to a client or contact.
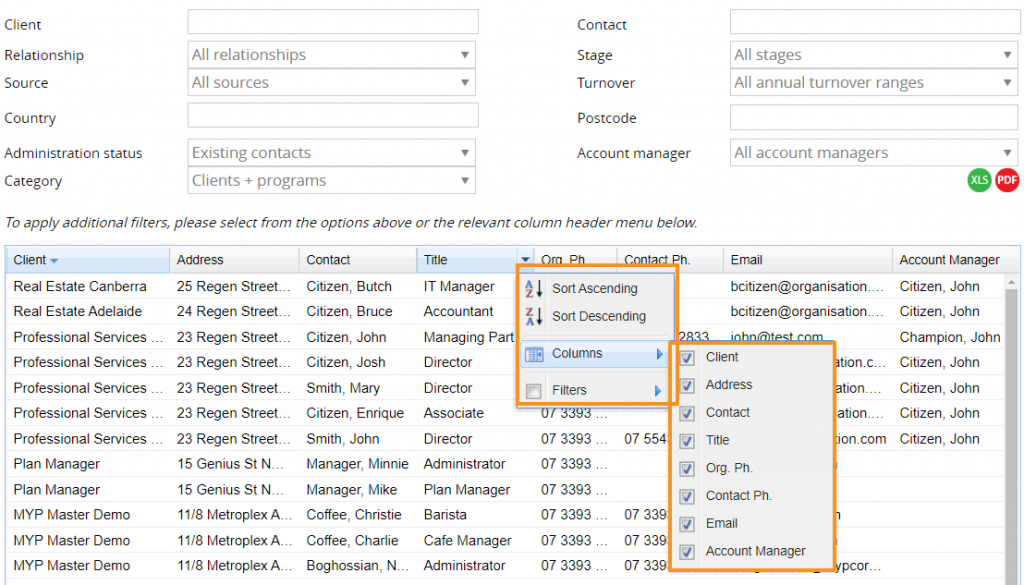
NB: Selecting the arrow beside each column header will allow the column to be sorted by A-Z or Z-A. Selecting columns will create a checkbox list allowing customisation of the columns.
Administer client eSystems (eSystems subscribers only)
The ARM module provides the ability to access client eSystems without the need to enter via eSystems.
To access client eSystems:
- Select the relevant client via search
- Select ‘eSystems’